Using Notebook
Notebook typically refers to Jupyter Notebook or similar interactive computing environments. This is a very popular tool widely used in fields such as data science, machine learning, and deep learning. This page explains how to use Notebook on the Canfeng AI platform.
Prerequisites
- The AI platform is installed
- The user has successfully registered
- The administrator has assigned a workspace to the user
- A dataset (code, data, etc.) is prepared
Creating and Using Notebook Instances
- Log in to the AI platform as an Administrator.
-
Navigate to AI Lab -> Queue Management, and click the Create button on the right.
-
After entering a name, selecting a cluster, workspace, and quota, click OK.
-
Log in to the AI platform as a User, navigate to AI Lab -> Notebook, and click the Create button on the right.
-
After configuring the parameters, click OK.
Enter a name, select a cluster, namespace, choose the newly created queue, and click One-click Initialization.
Select Notebook type, configure memory and CPU, enable GPU, create and configure PVC:
Enable SSH external access:
-
You will be automatically redirected to the Notebook instance list; click the instance name.
-
Enter the Notebook instance details page and click the Open button in the upper right corner.
-
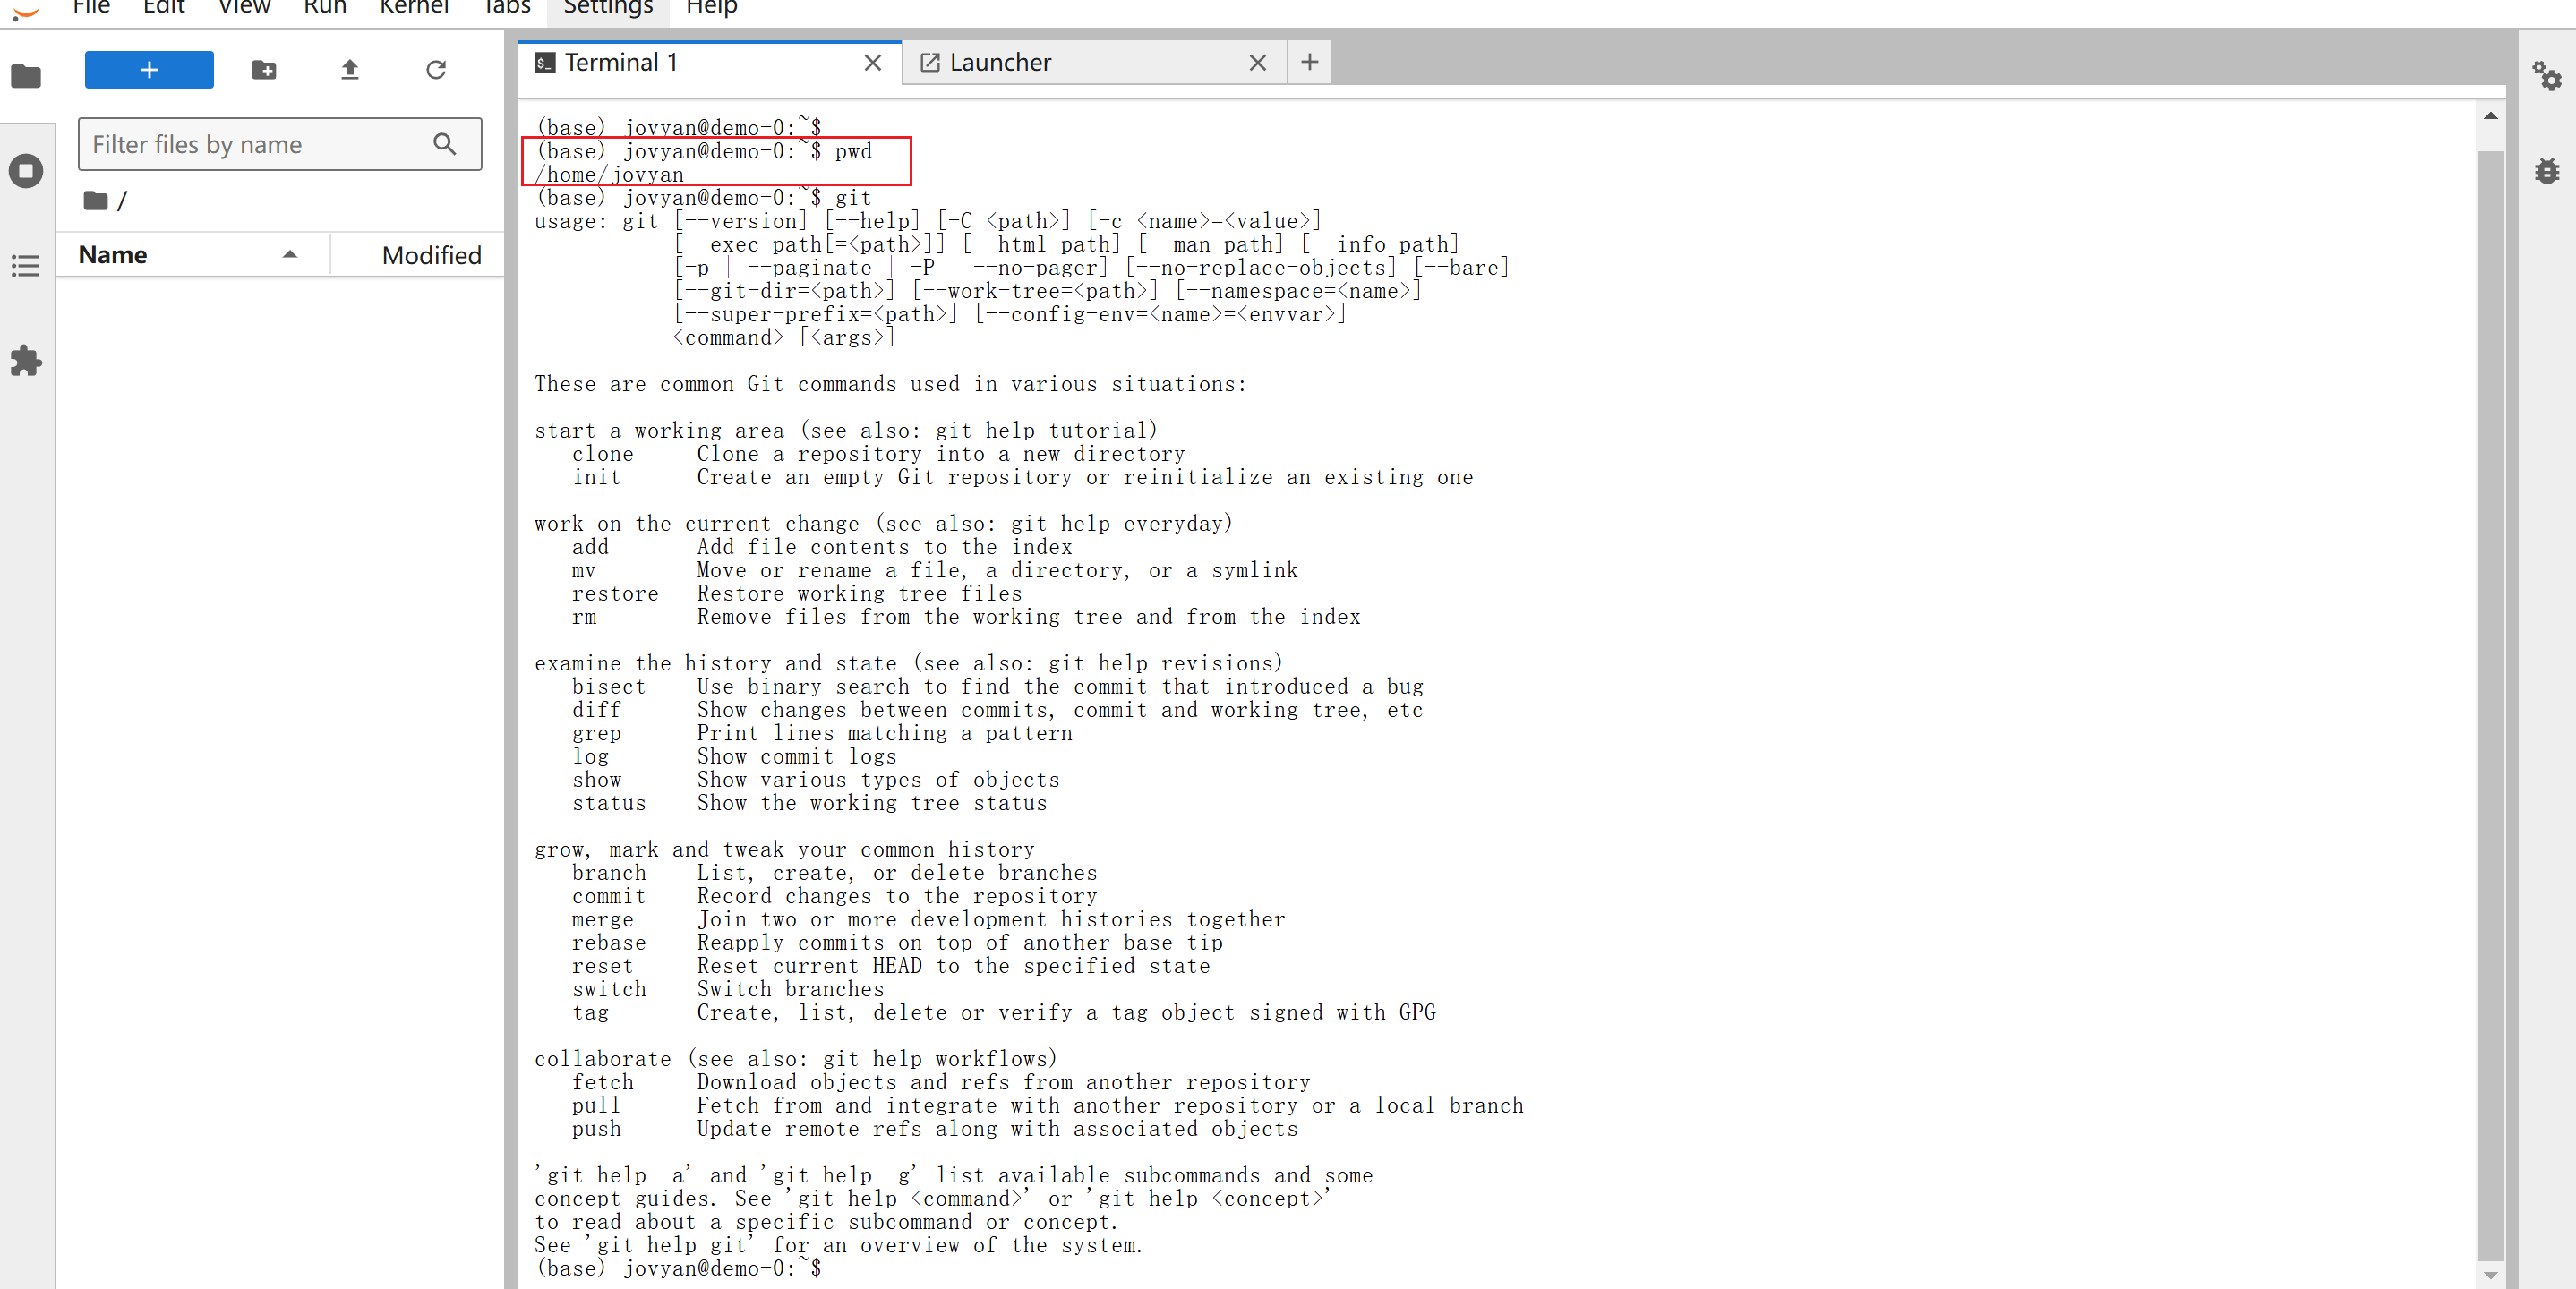
You will enter the Notebook development environment, where a persistent volume is mounted in the
/home/jovyandirectory. You can clone code using git and upload data after connecting via SSH, etc.
Accessing Notebook Instances via SSH
-
Generate an SSH key pair on your own computer.
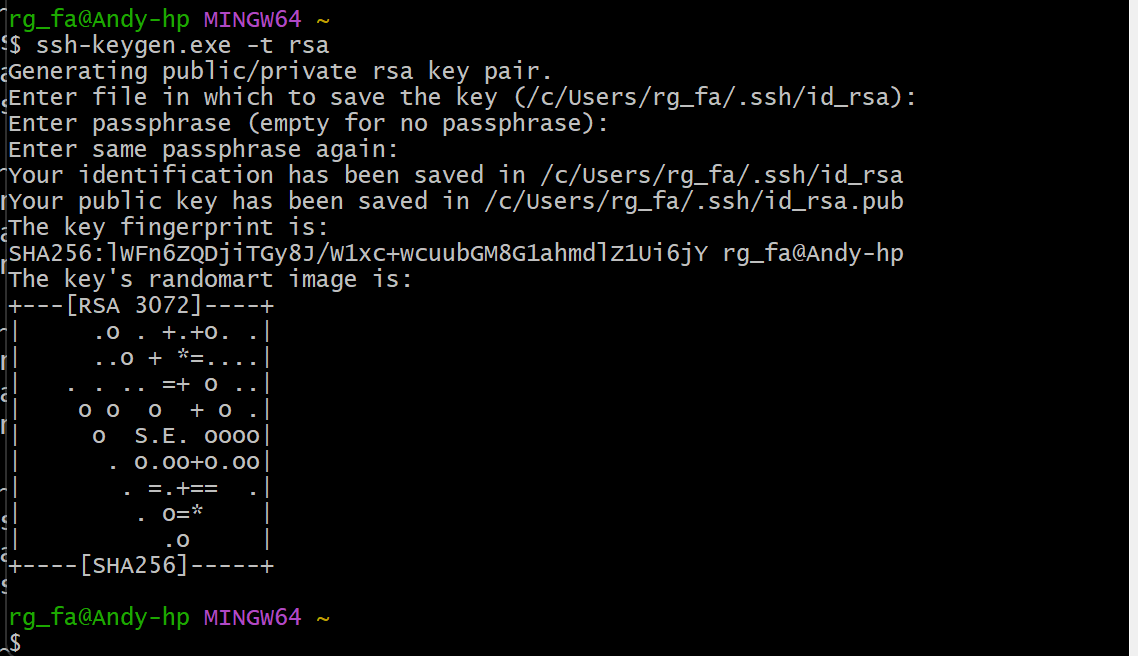
Open the command line on your computer, for example, open git bash on Windows, and enter
ssh-keygen.exe -t rsa, then press enter until completion.
-
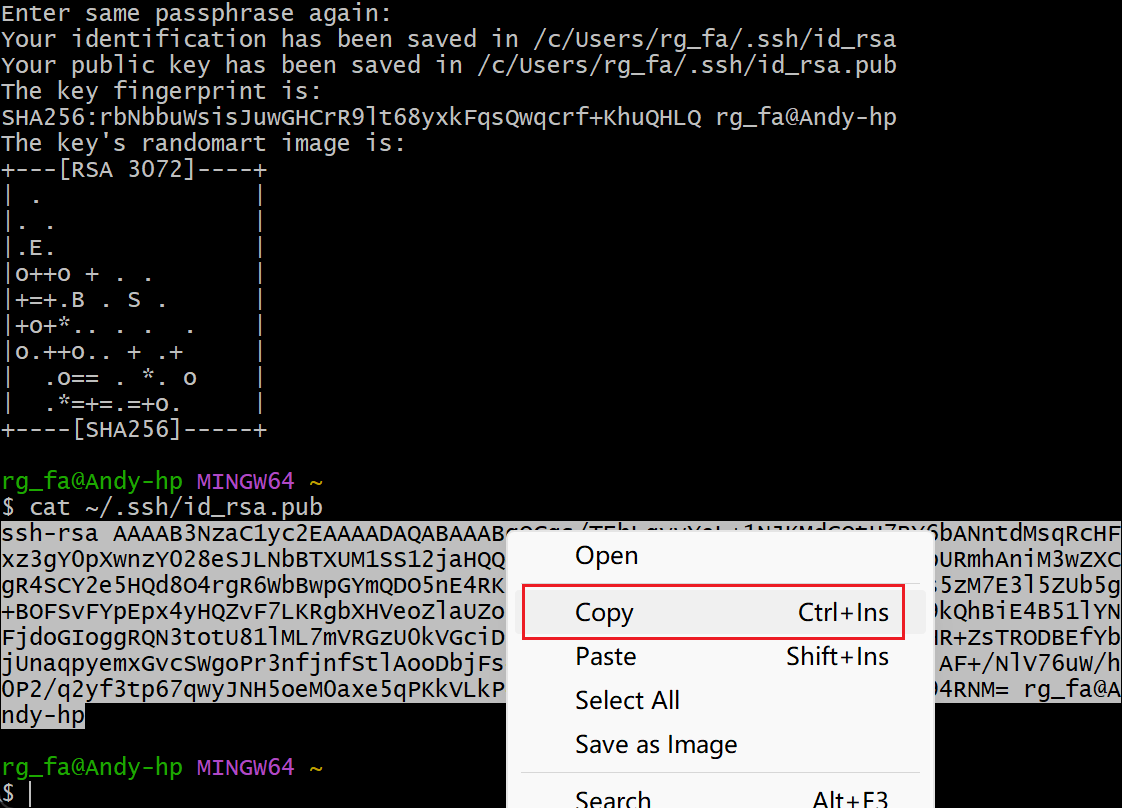
Use commands like
cat ~/.ssh/id_rsa.pubto view and copy the public key.
-
Log in to the AI platform as a user, click Personal Center in the upper right corner -> SSH Public Key -> Import SSH Public Key.
-
Go to the details page of the Notebook instance and copy the SSH link.
-
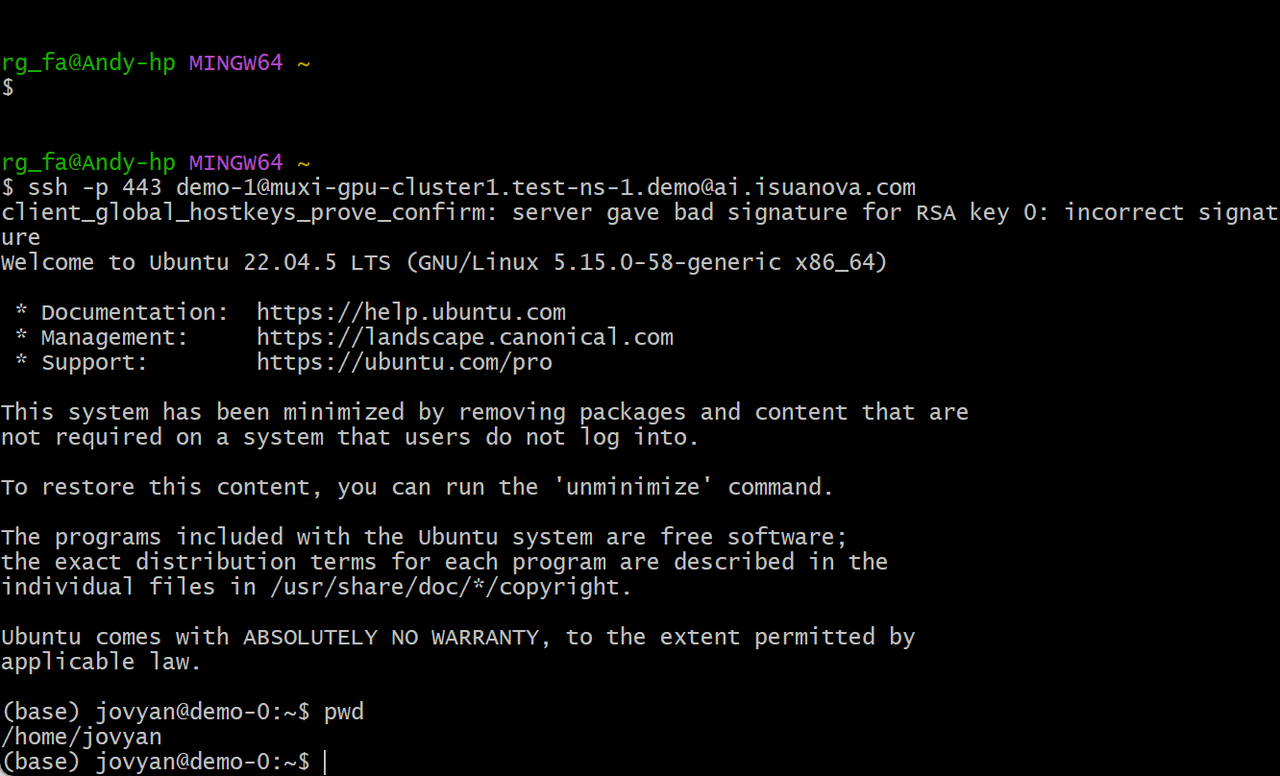
Use SSH to access the Notebook instance from the client.

Next step: Create Training Jobs