Creating a Kubernetes Cluster on the Cloud
Deploying a Kubernetes cluster is aimed at supporting efficient AI computing resource scheduling and management, achieving elastic scalability, providing high availability, and optimizing the model training and inference processes.
Prerequisites
- An AI platform is installed
- An administrator account is available
- A physical machine with a GPU is prepared
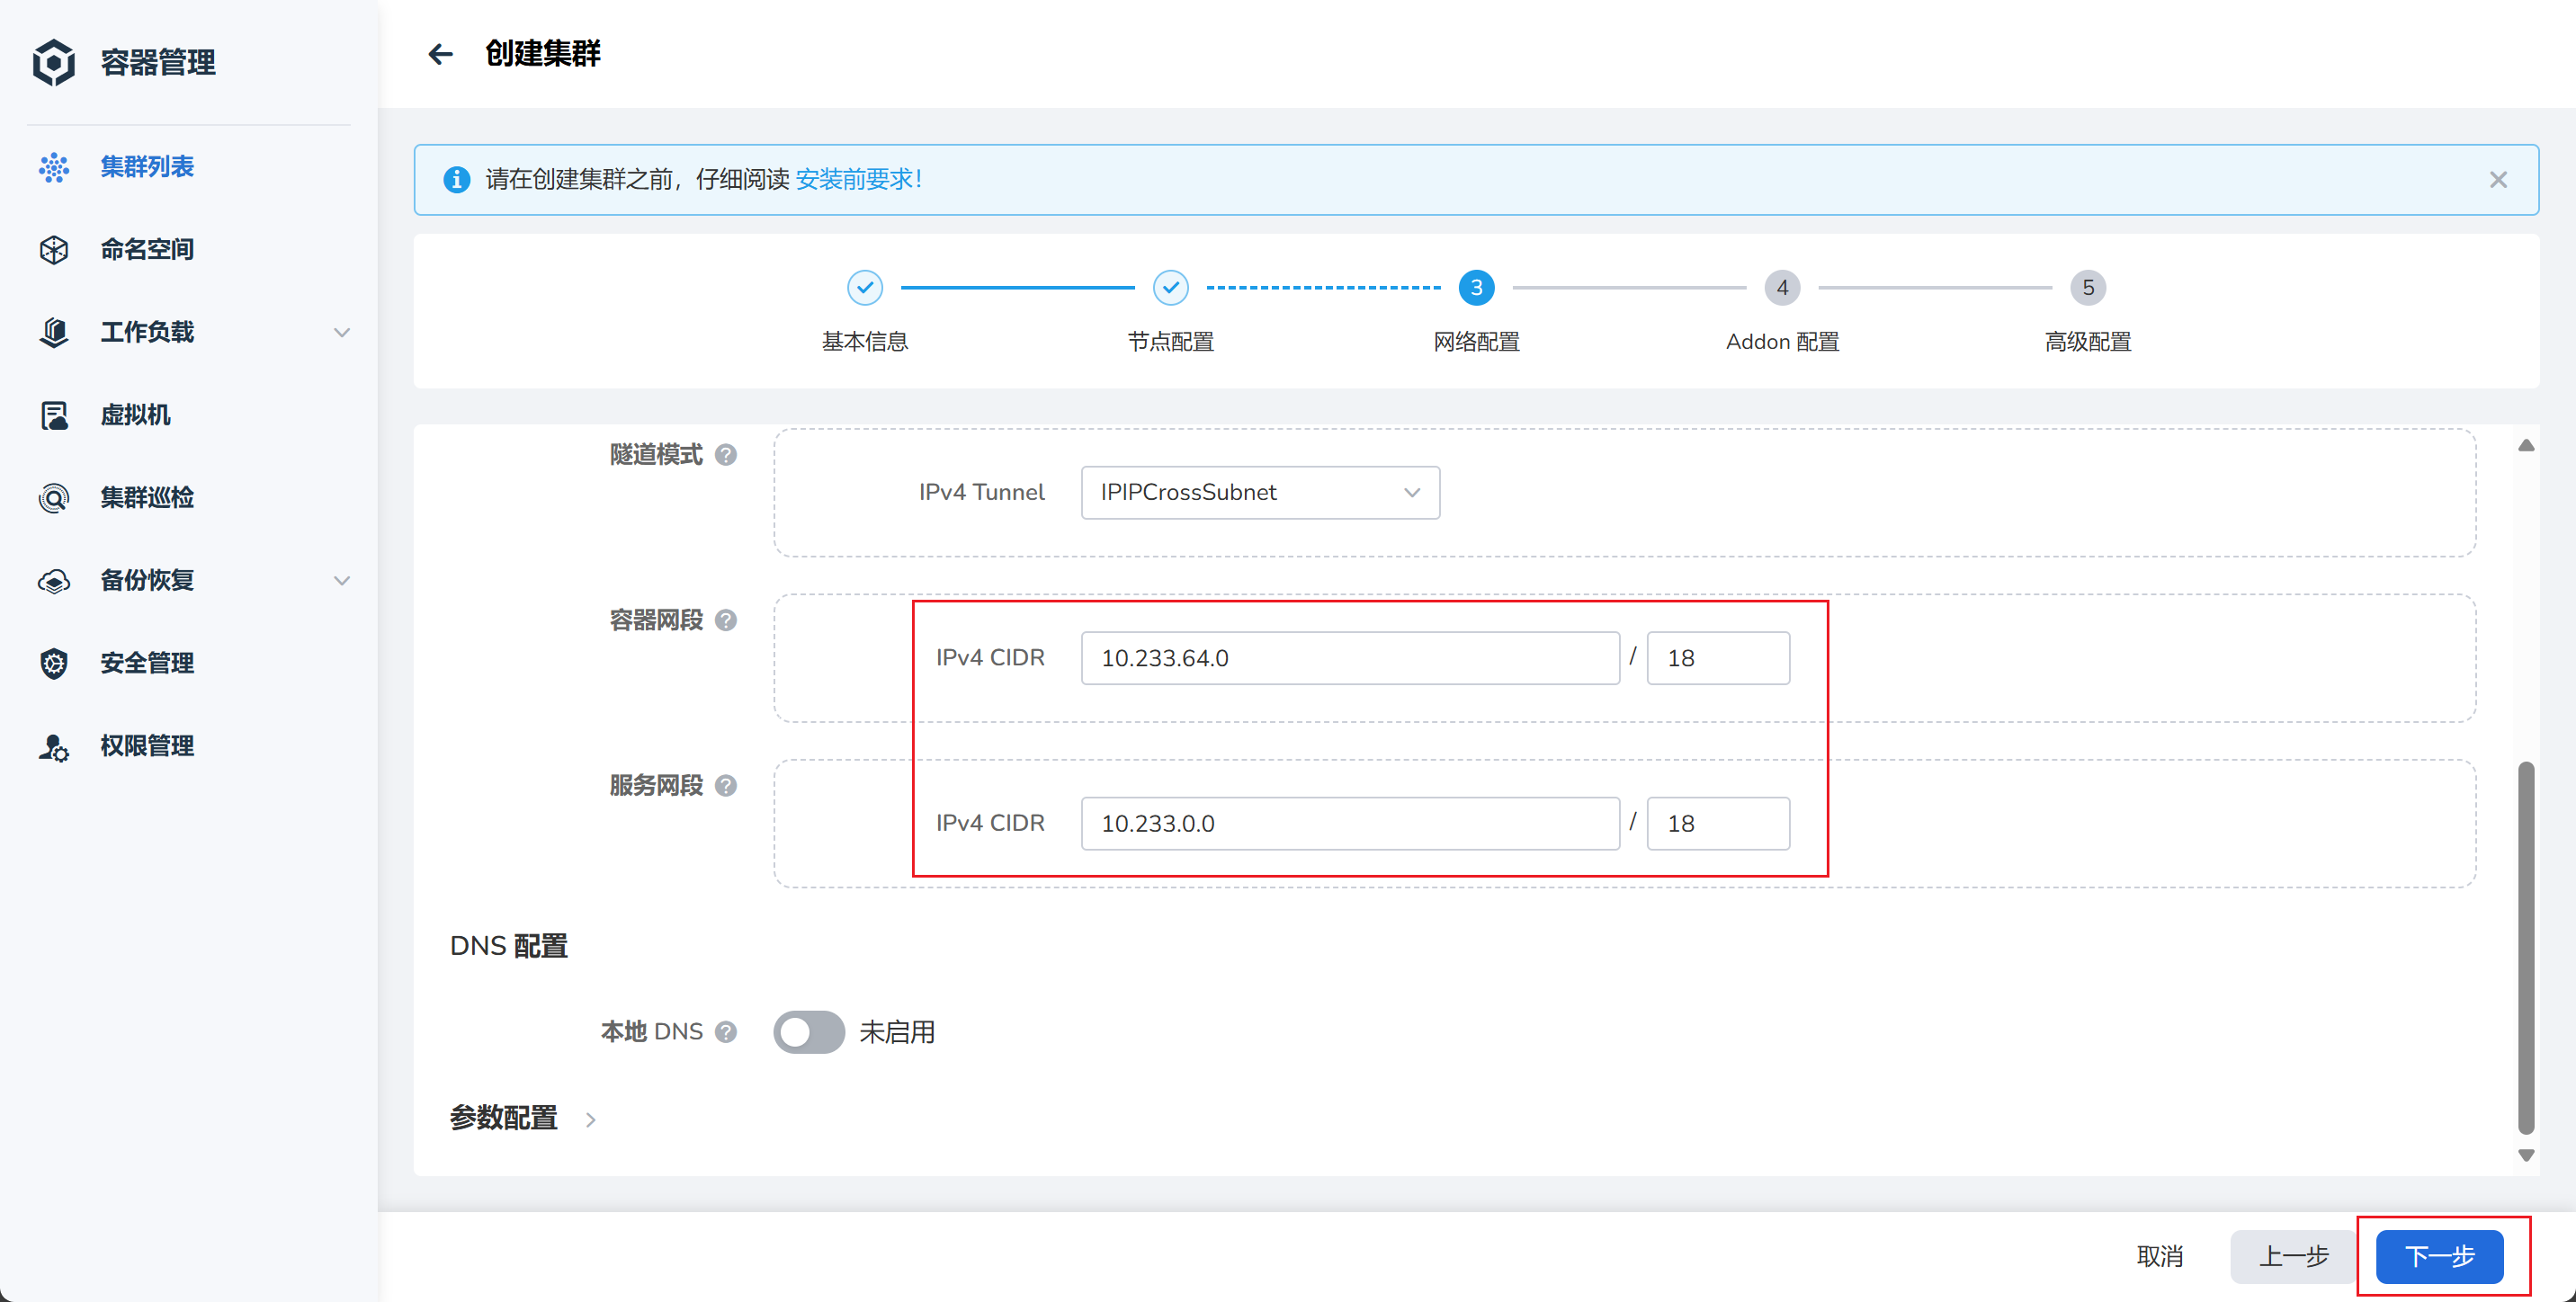
- Two segments of IP addresses are allocated (Pod CIDR 18 bits, SVC CIDR 18 bits, must not conflict with existing network segments)
Steps to Create the Cluster
- Log in to the AI platform as an administrator.
-
Create and launch 3 cloud hosts without GPUs to serve as the Master nodes for the cluster.
- Configure resources: 16 CPU cores, 32 GB memory, 200 GB system disk (ReadWriteOnce)
- Select Bridge network mode
- Set the root password or add an SSH public key for SSH connection
- Take note of the IP addresses of the 3 hosts
-
Navigate to Container Management -> Clusters, and click the Create Cluster button on the right side.
-
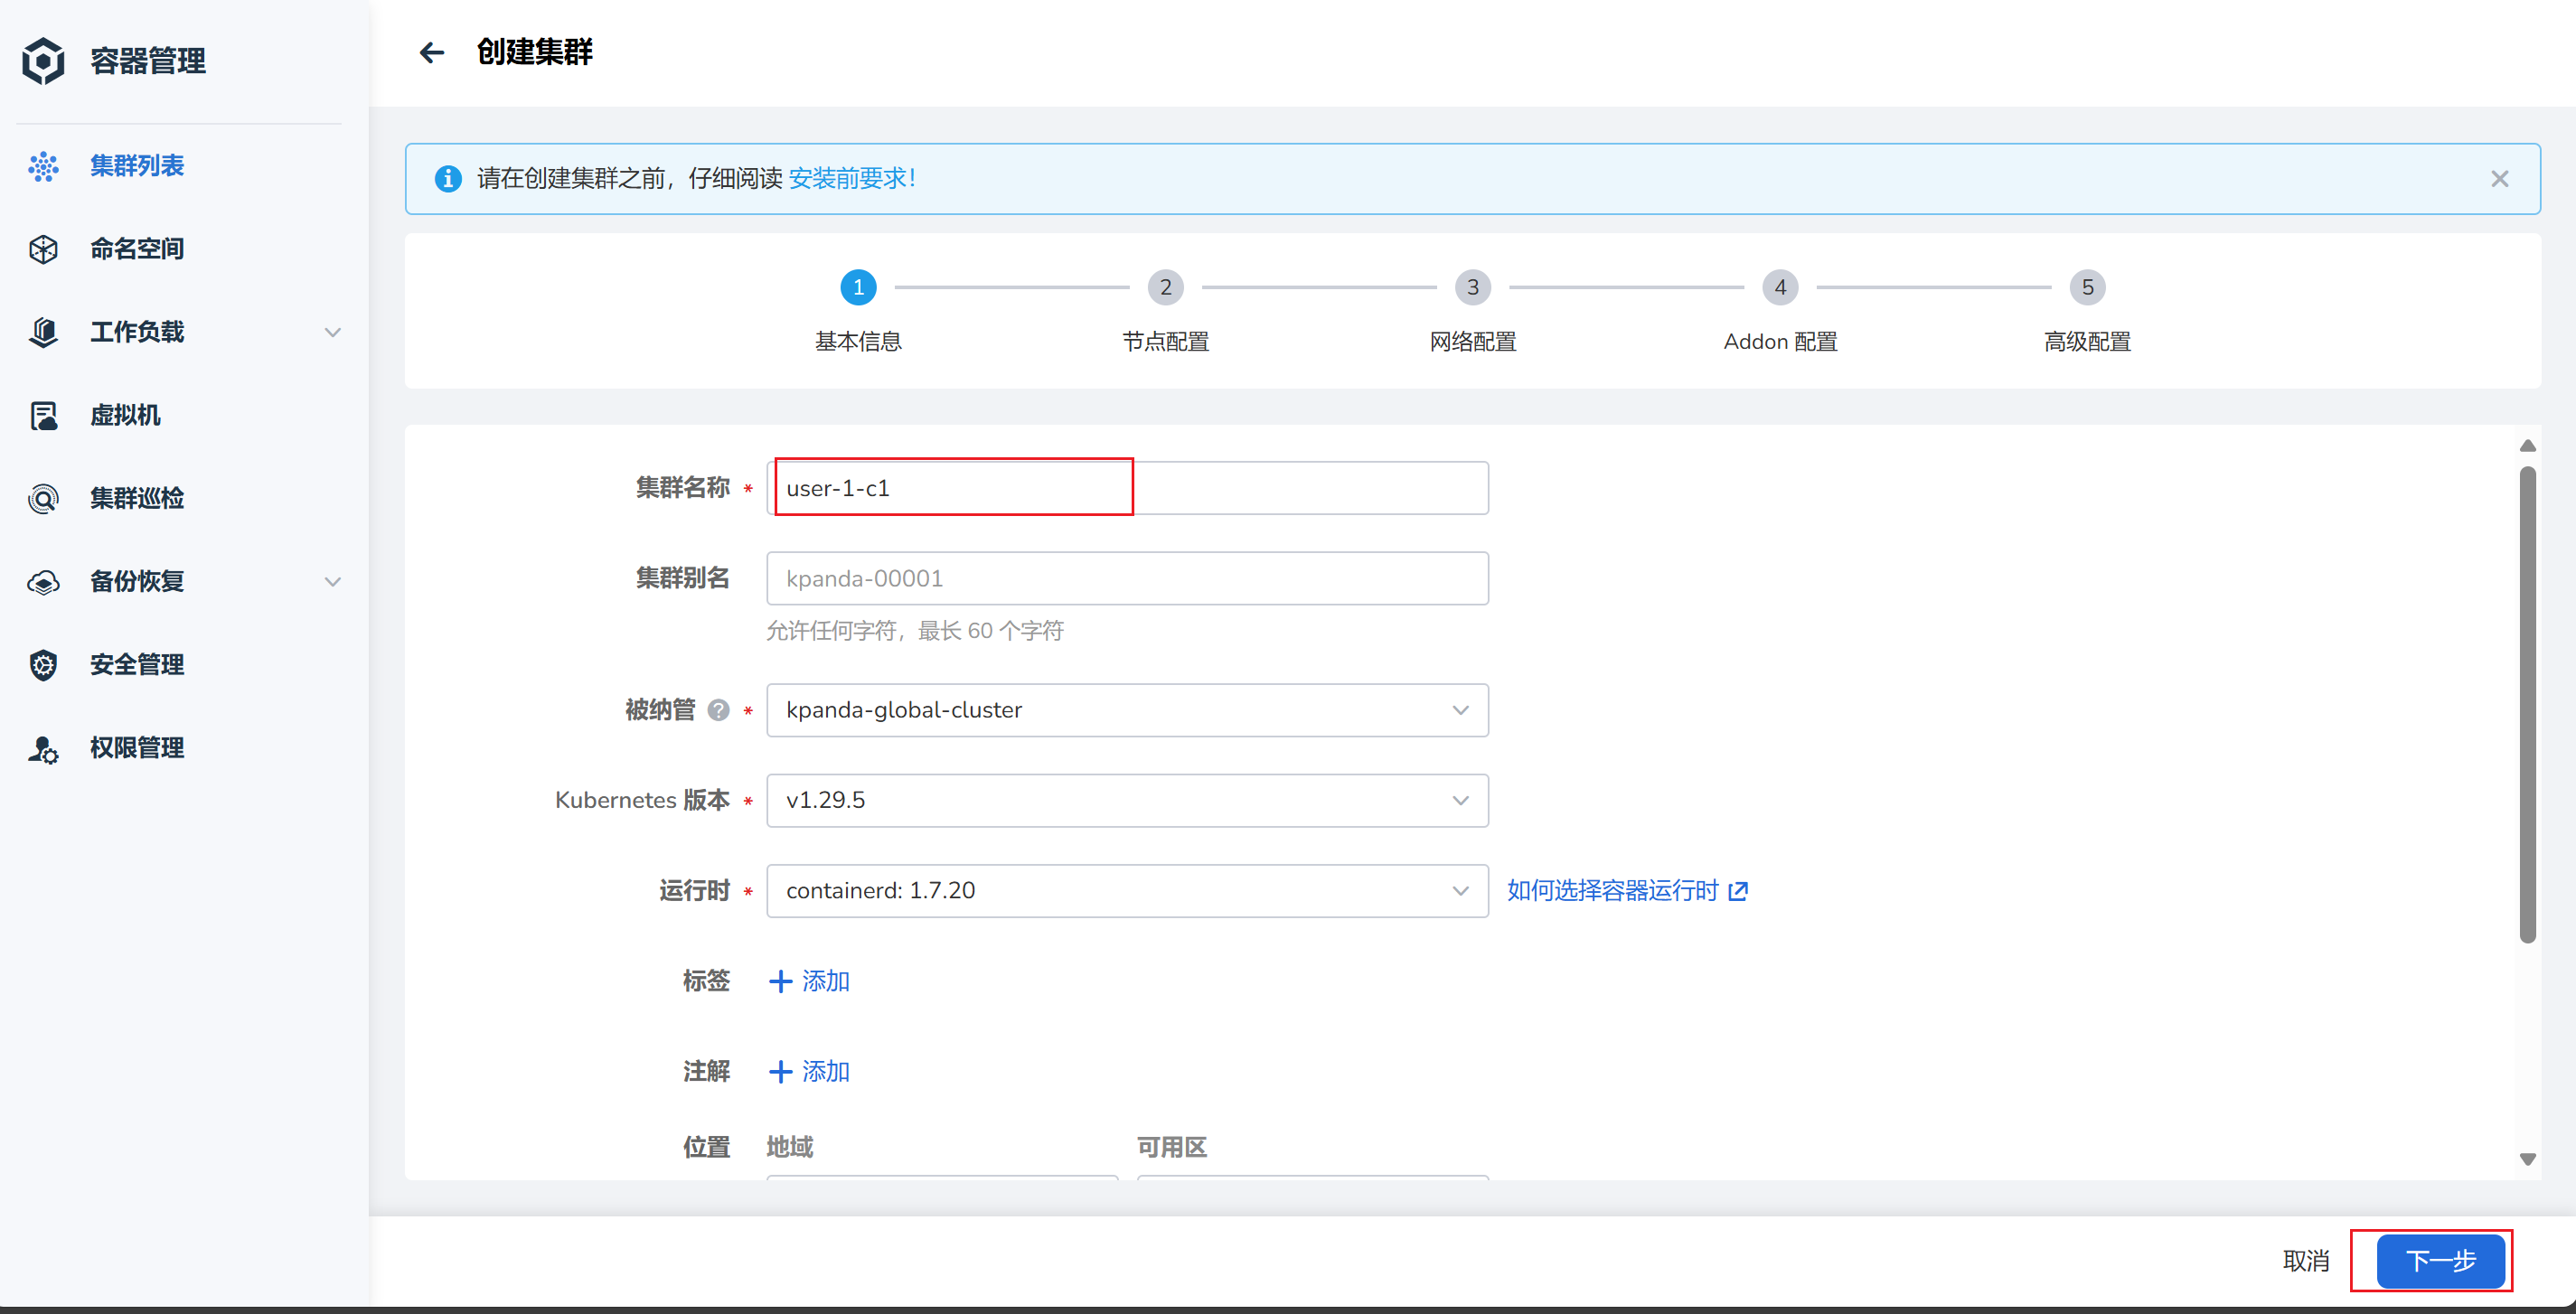
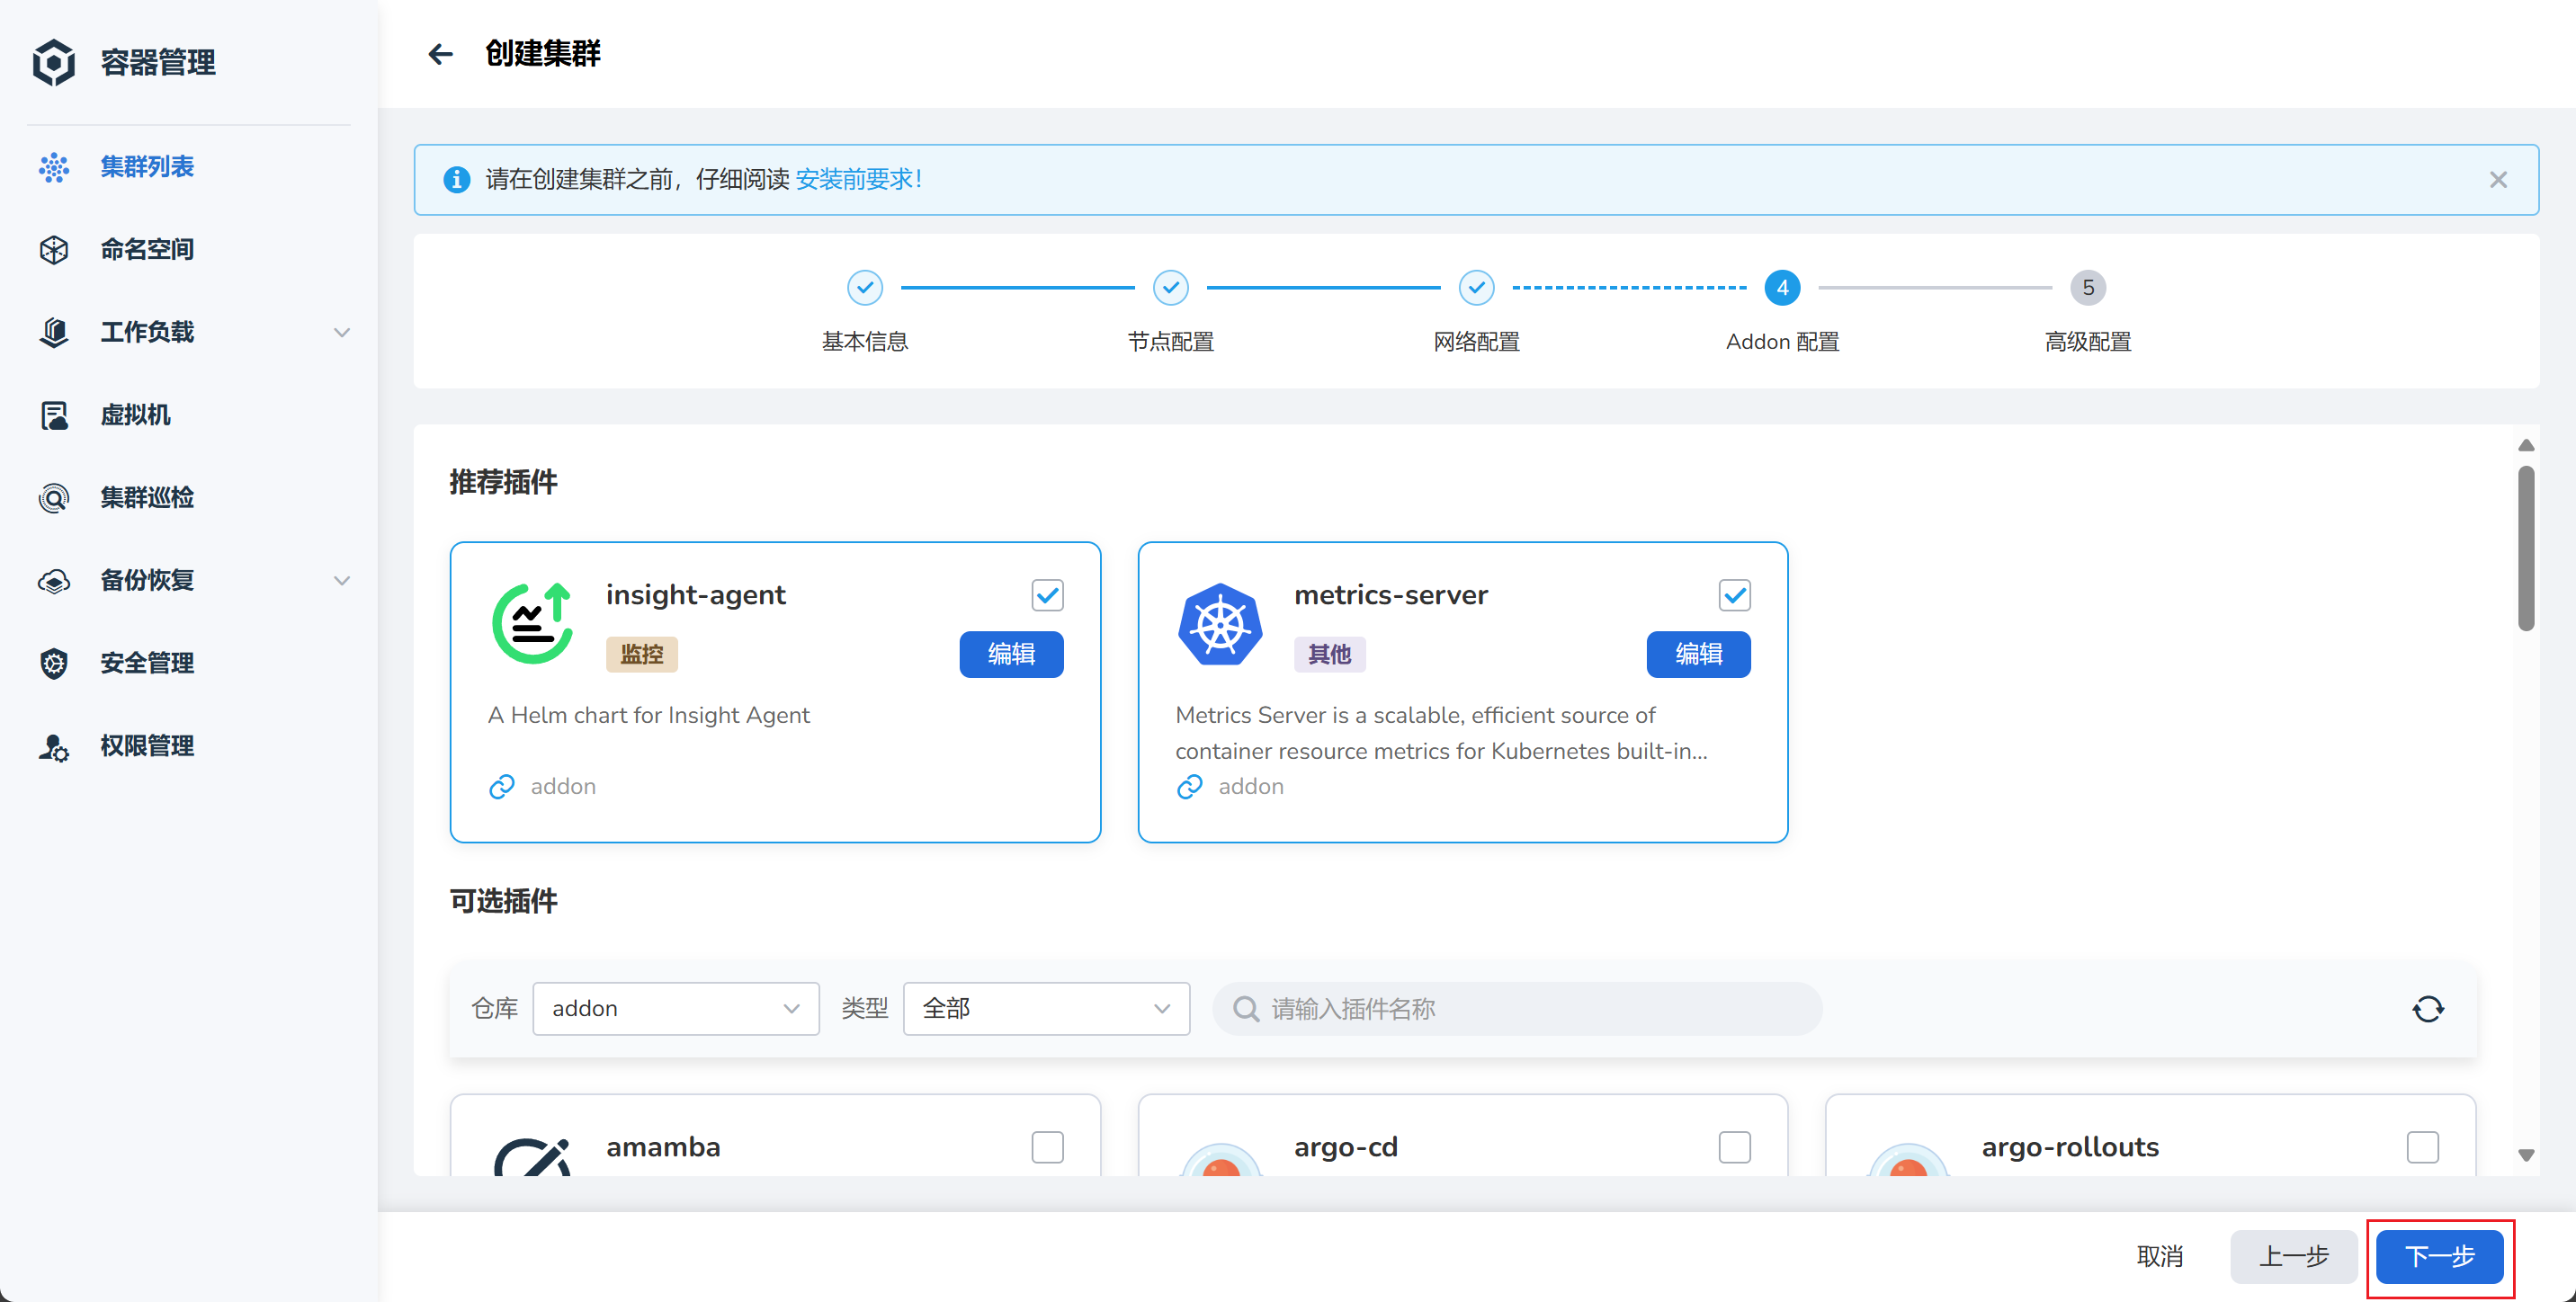
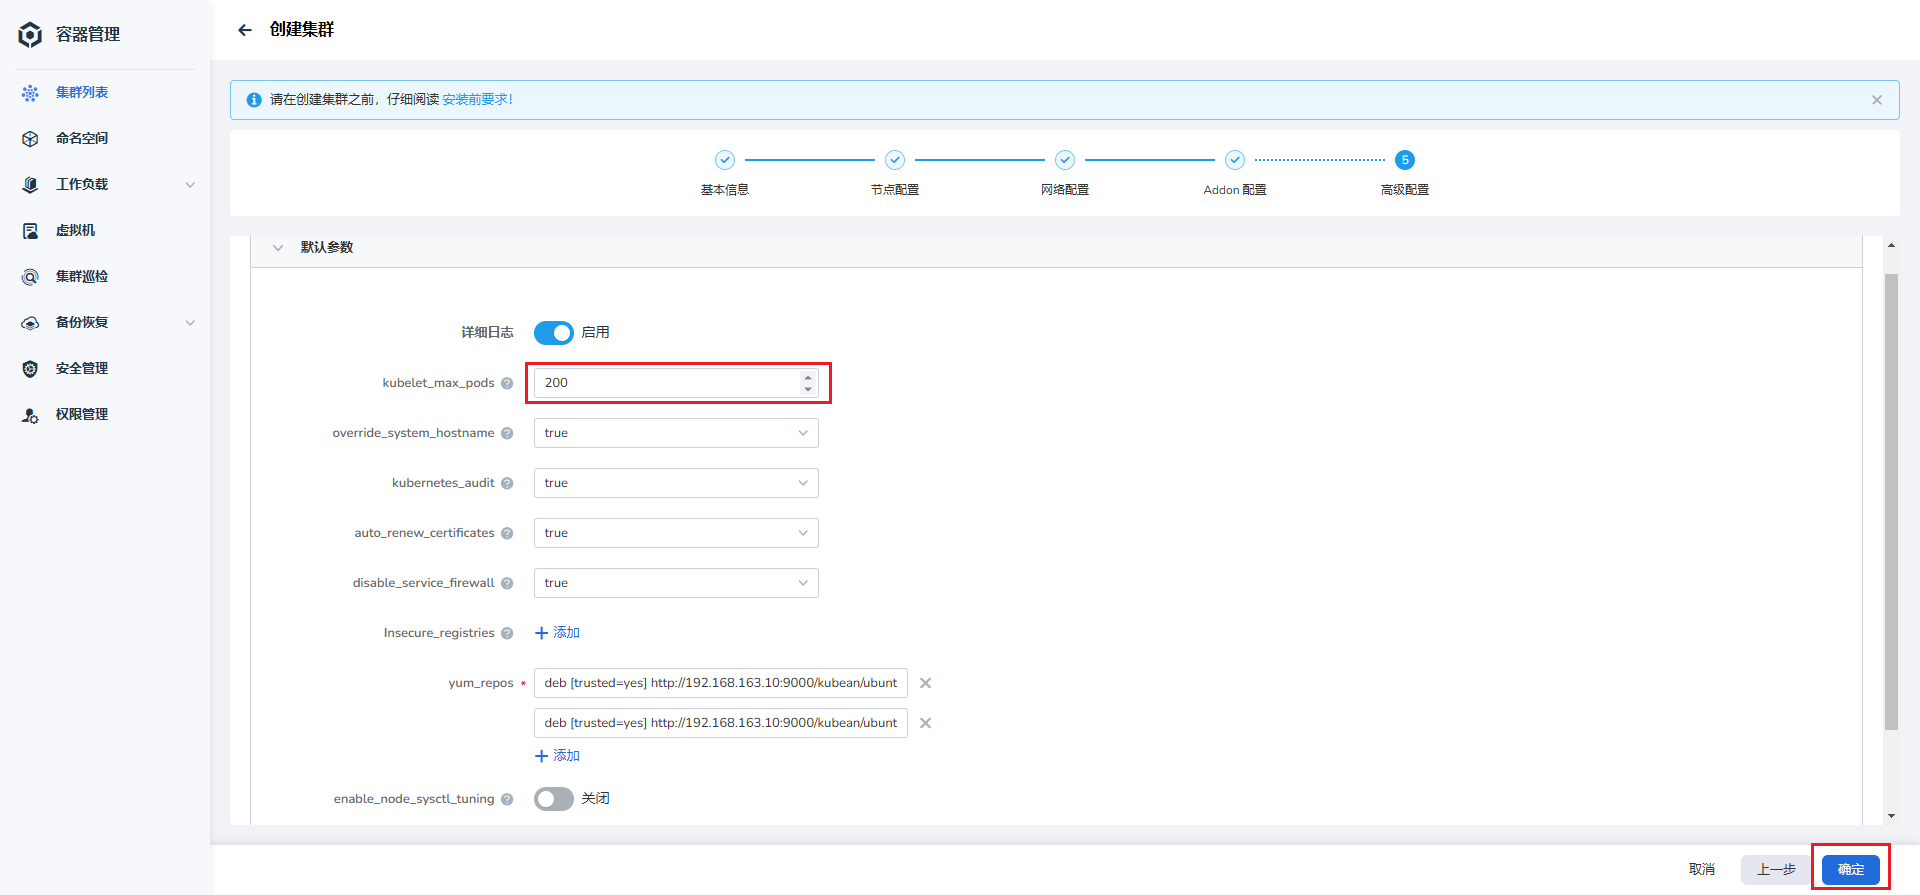
Follow the wizard to configure the various parameters of the cluster.
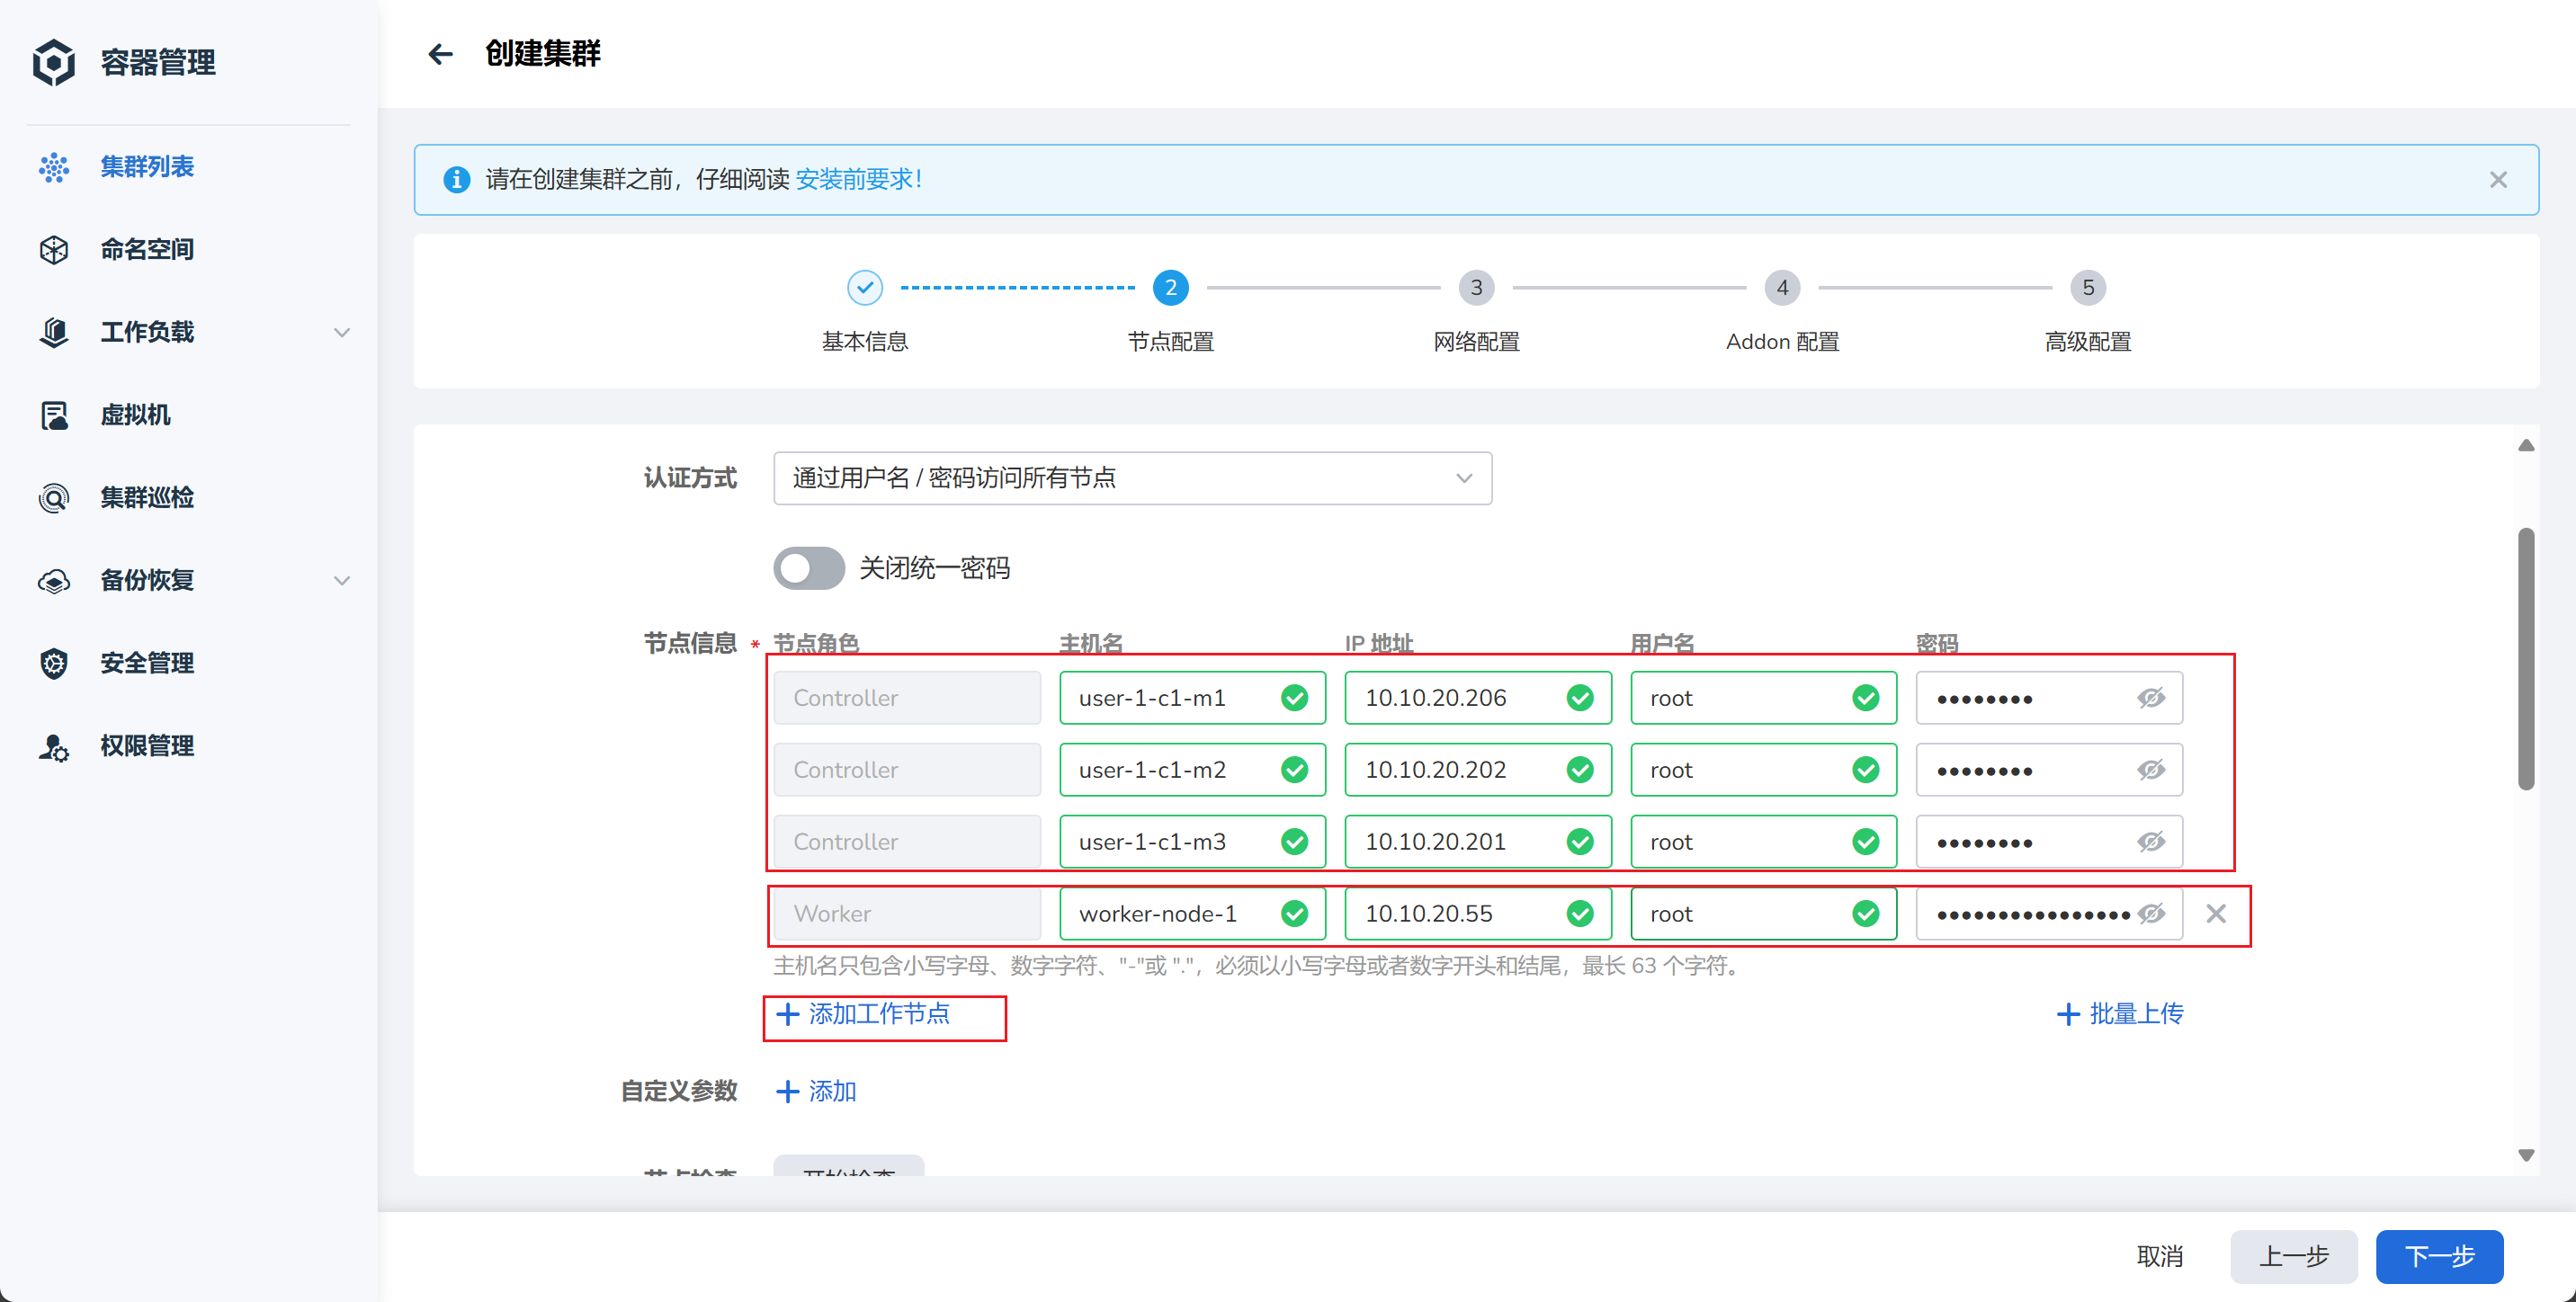
After configuring the node information, click Start Check.

Each node can run a default of 110 Pods (container groups). If the node configuration is higher, it can be adjusted to 200 or 300 Pods.
-
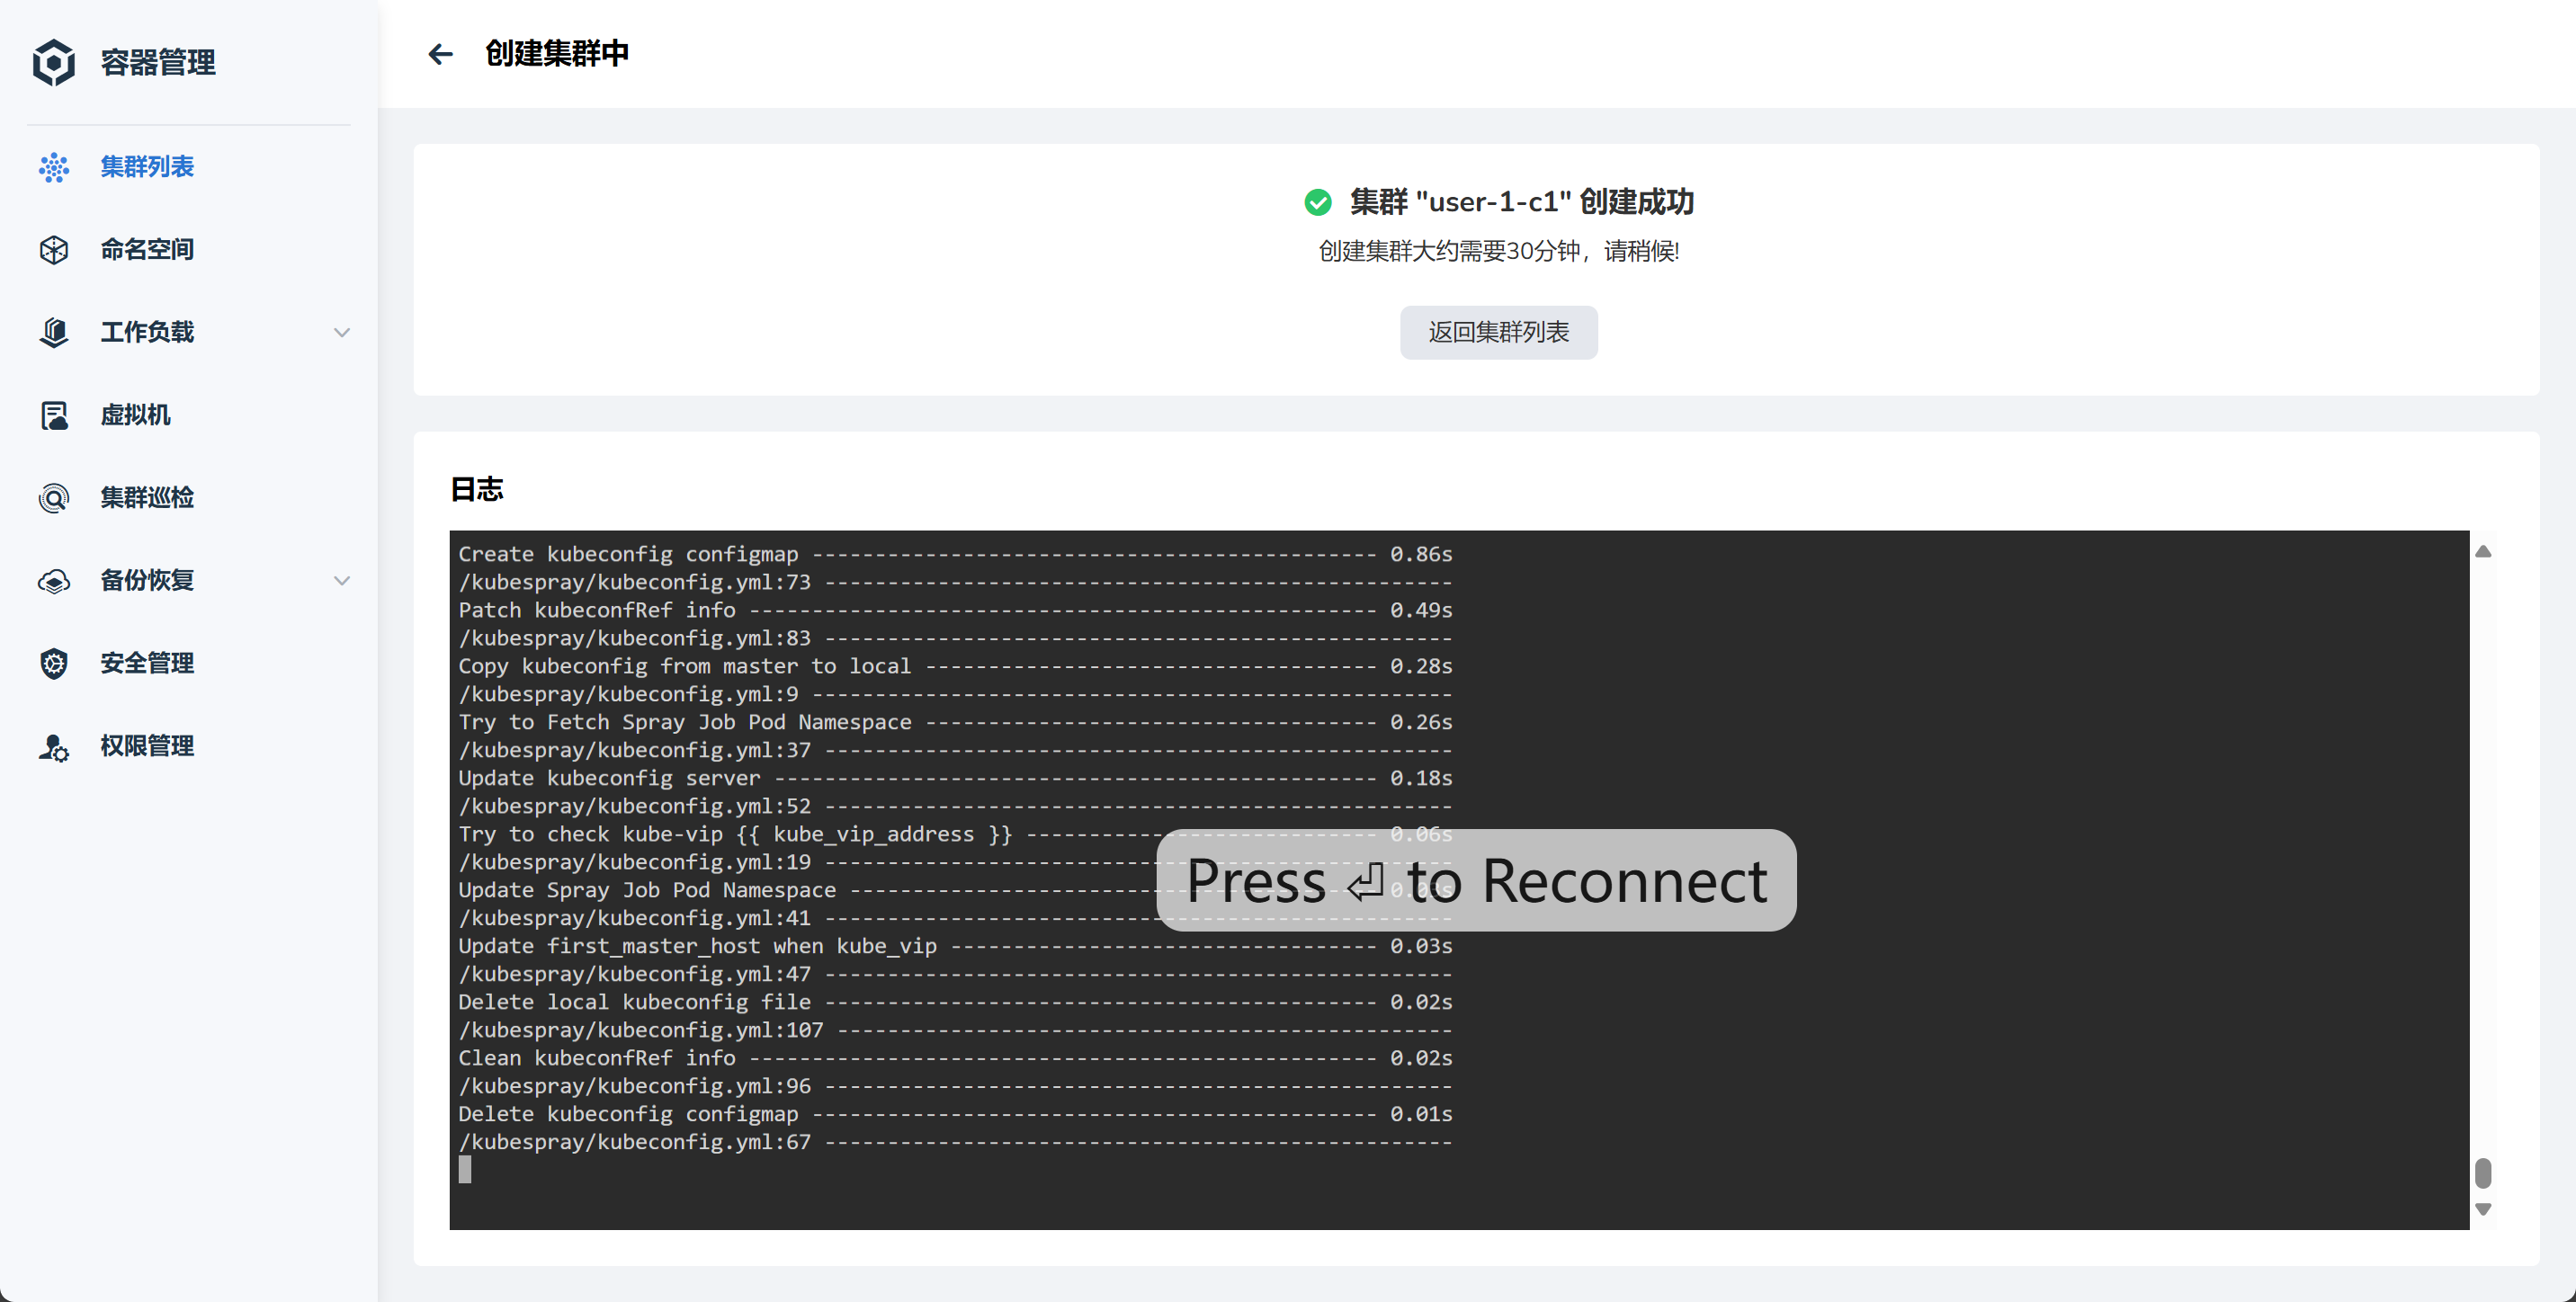
Wait for the cluster creation to complete.
-
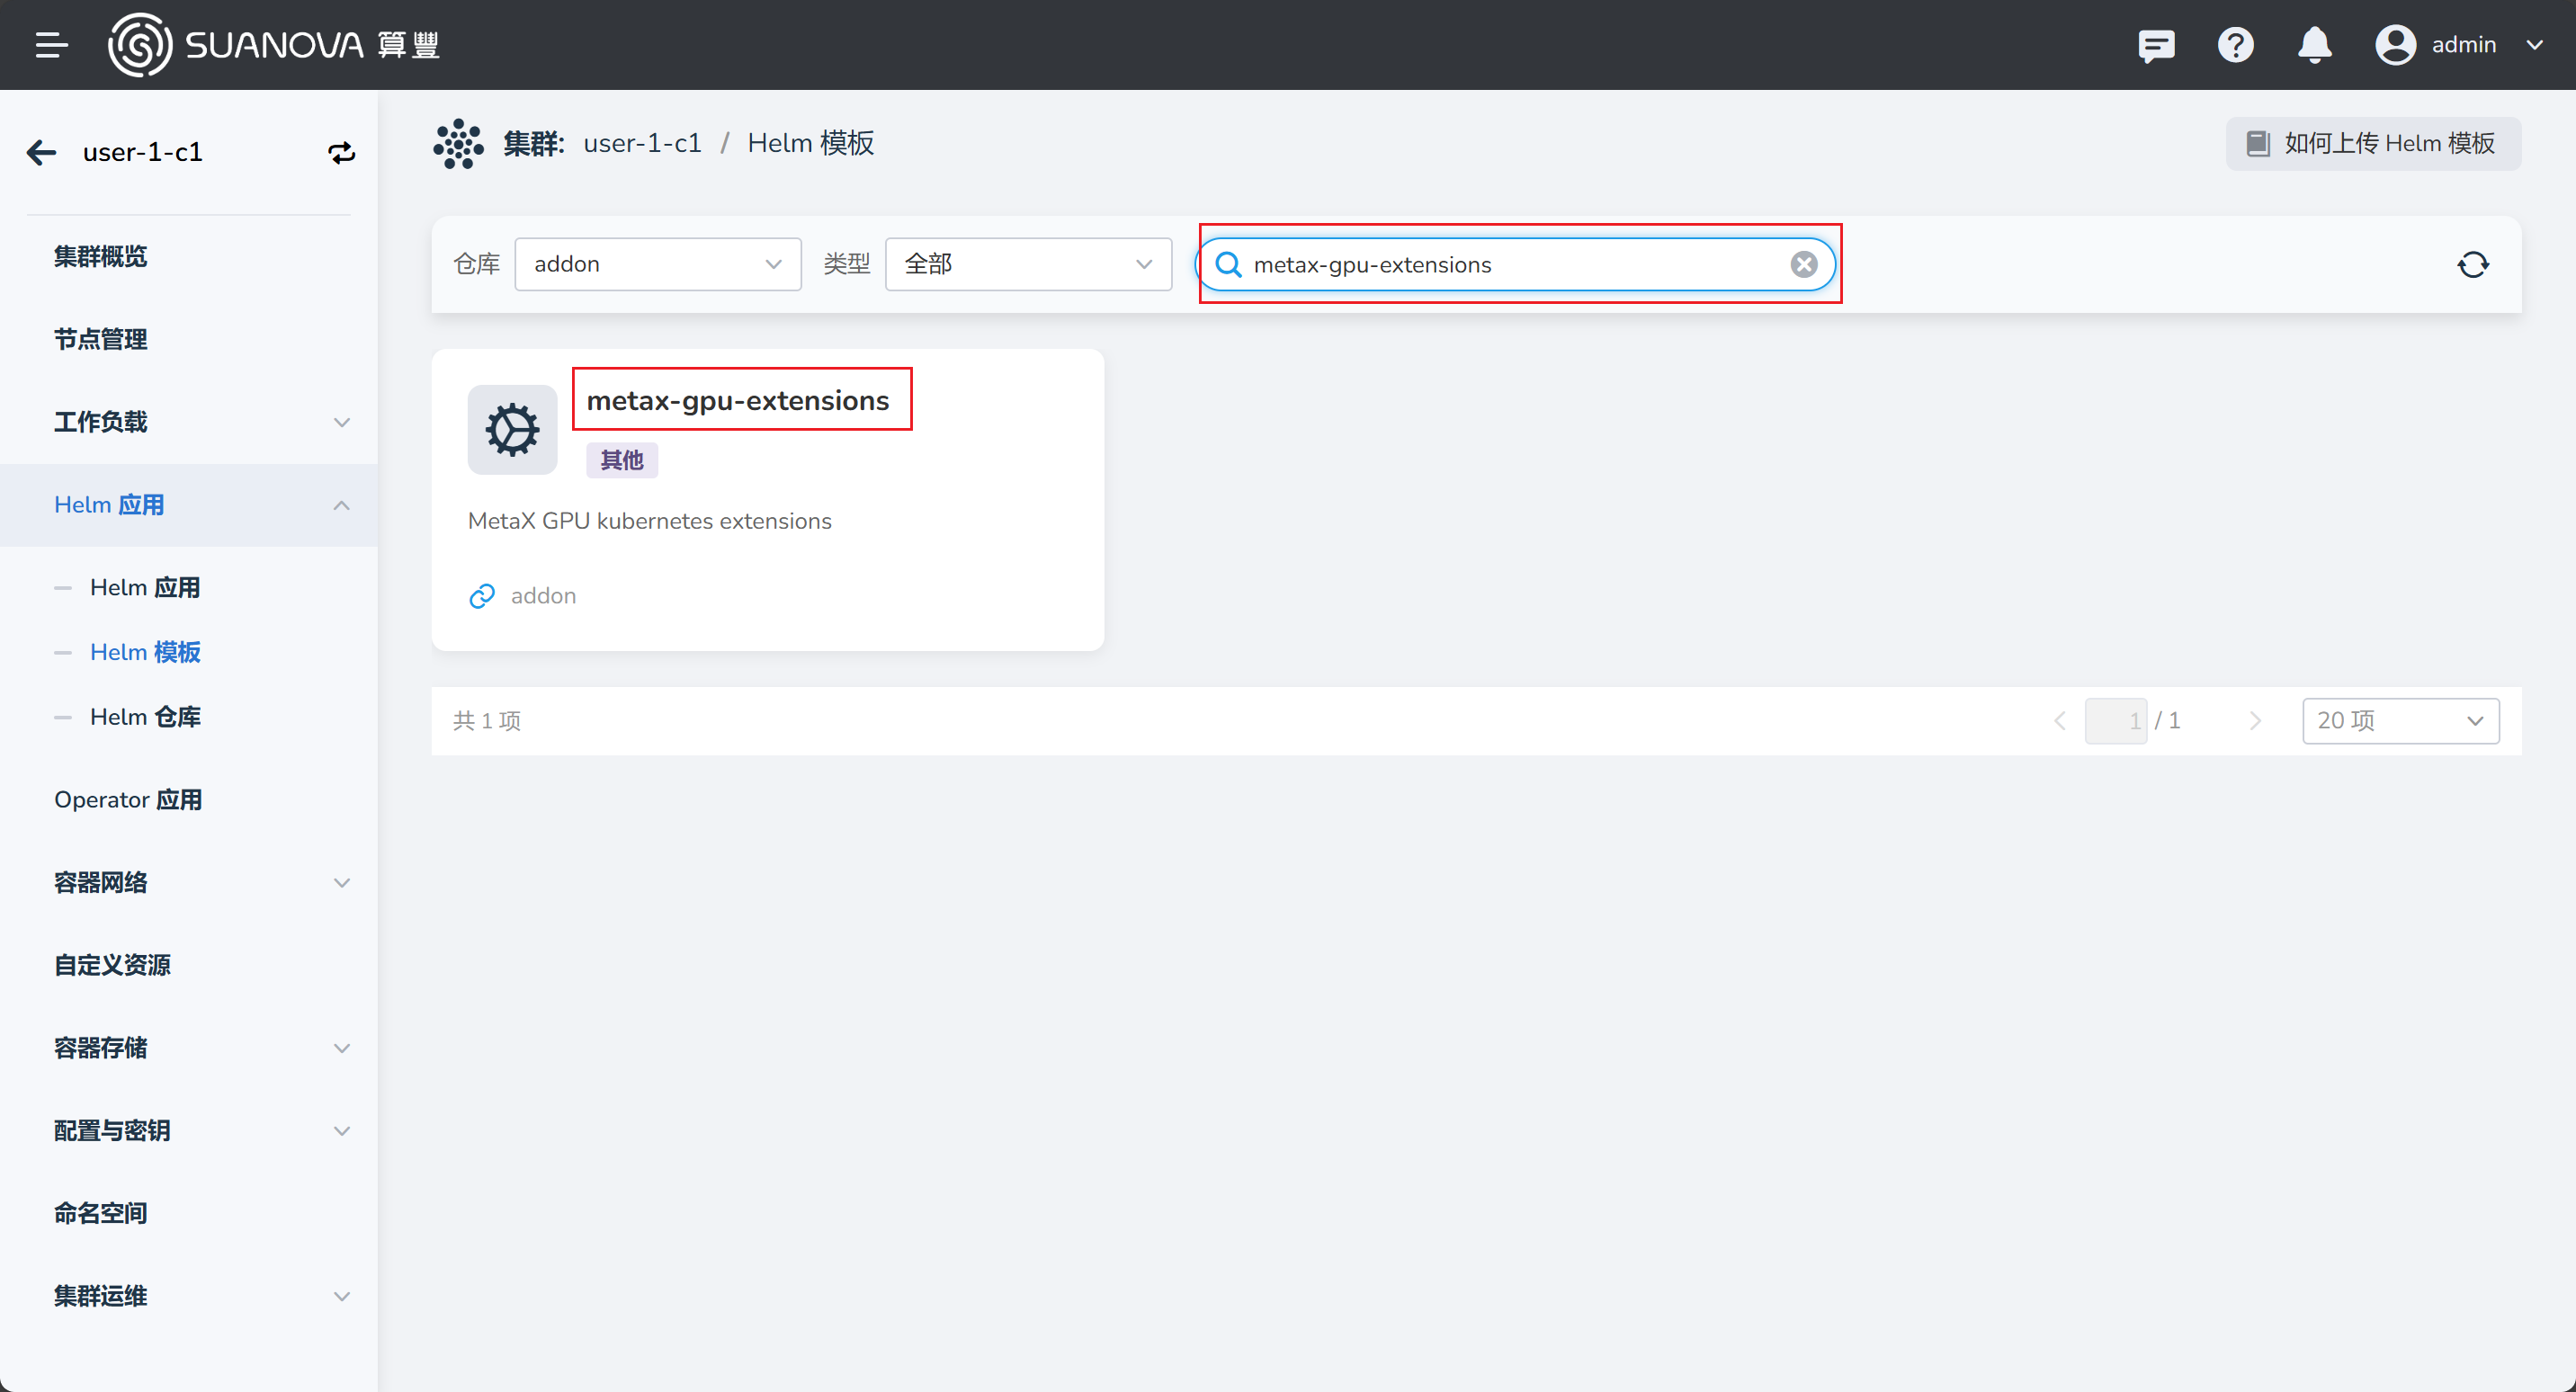
In the cluster list, find the newly created cluster, click the cluster name, navigate to Helm Apps -> Helm Charts, and search for
metax-gpu-extensionsin the search box, then click the card.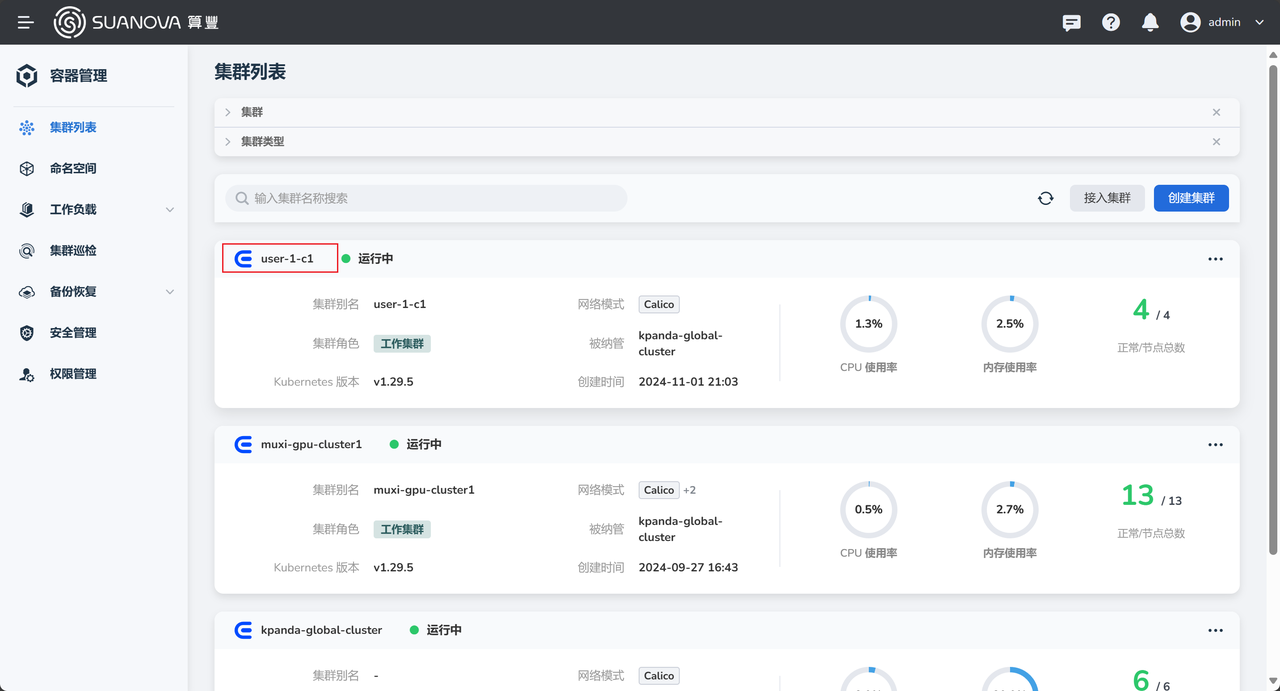
-
Click the Install button on the right to begin installing the GPU plugin.
Enter a name, select a namespace, and modify the image address in the YAML:
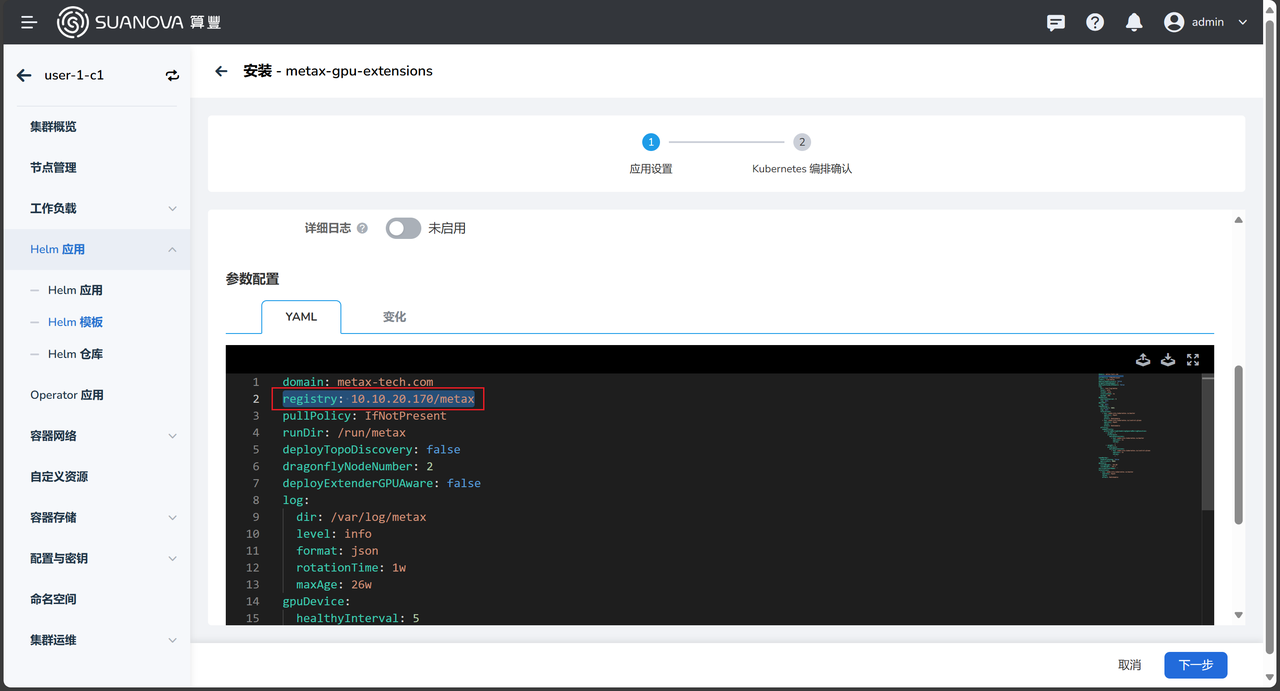
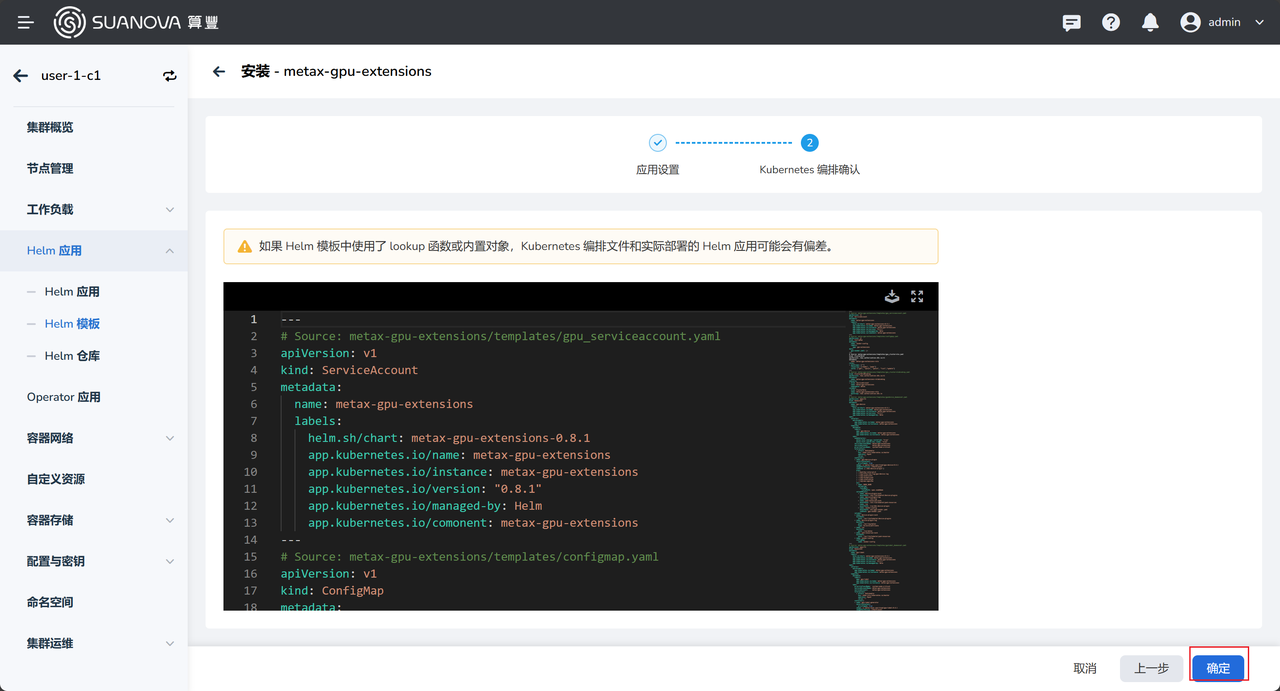
-
You will automatically return to the Helm App list. Wait for the status of
metax-gpu-extensionsto change to Deployed.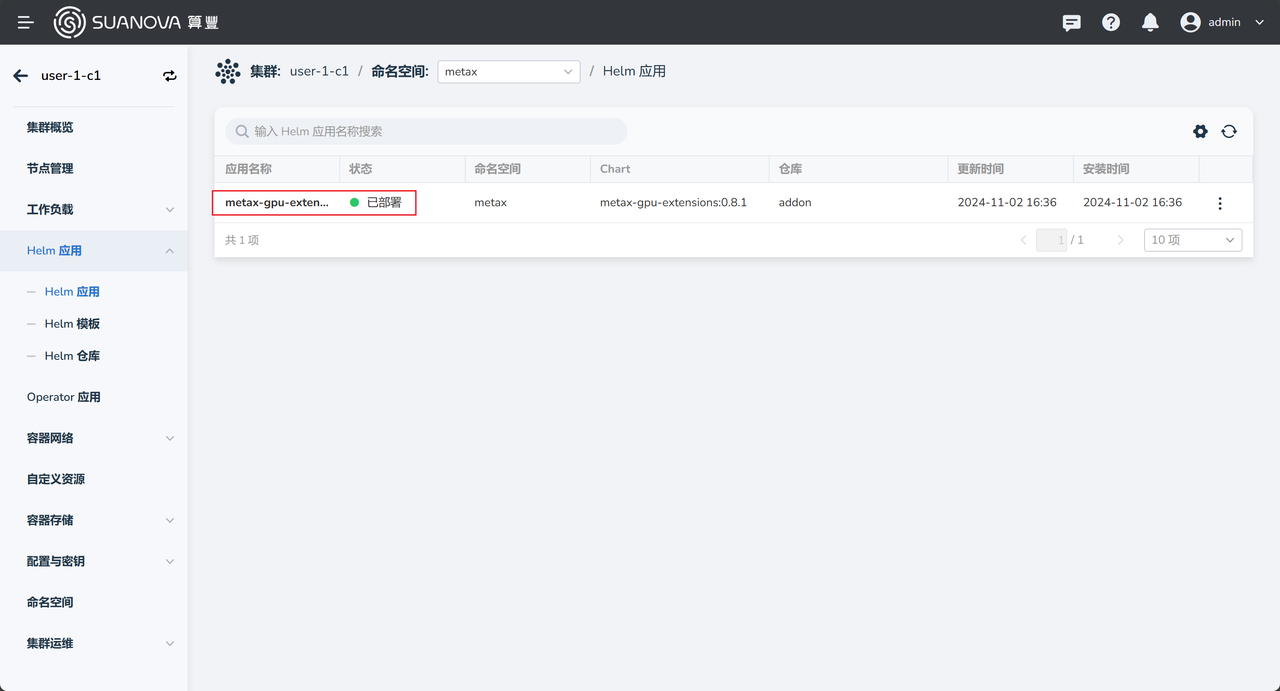
-
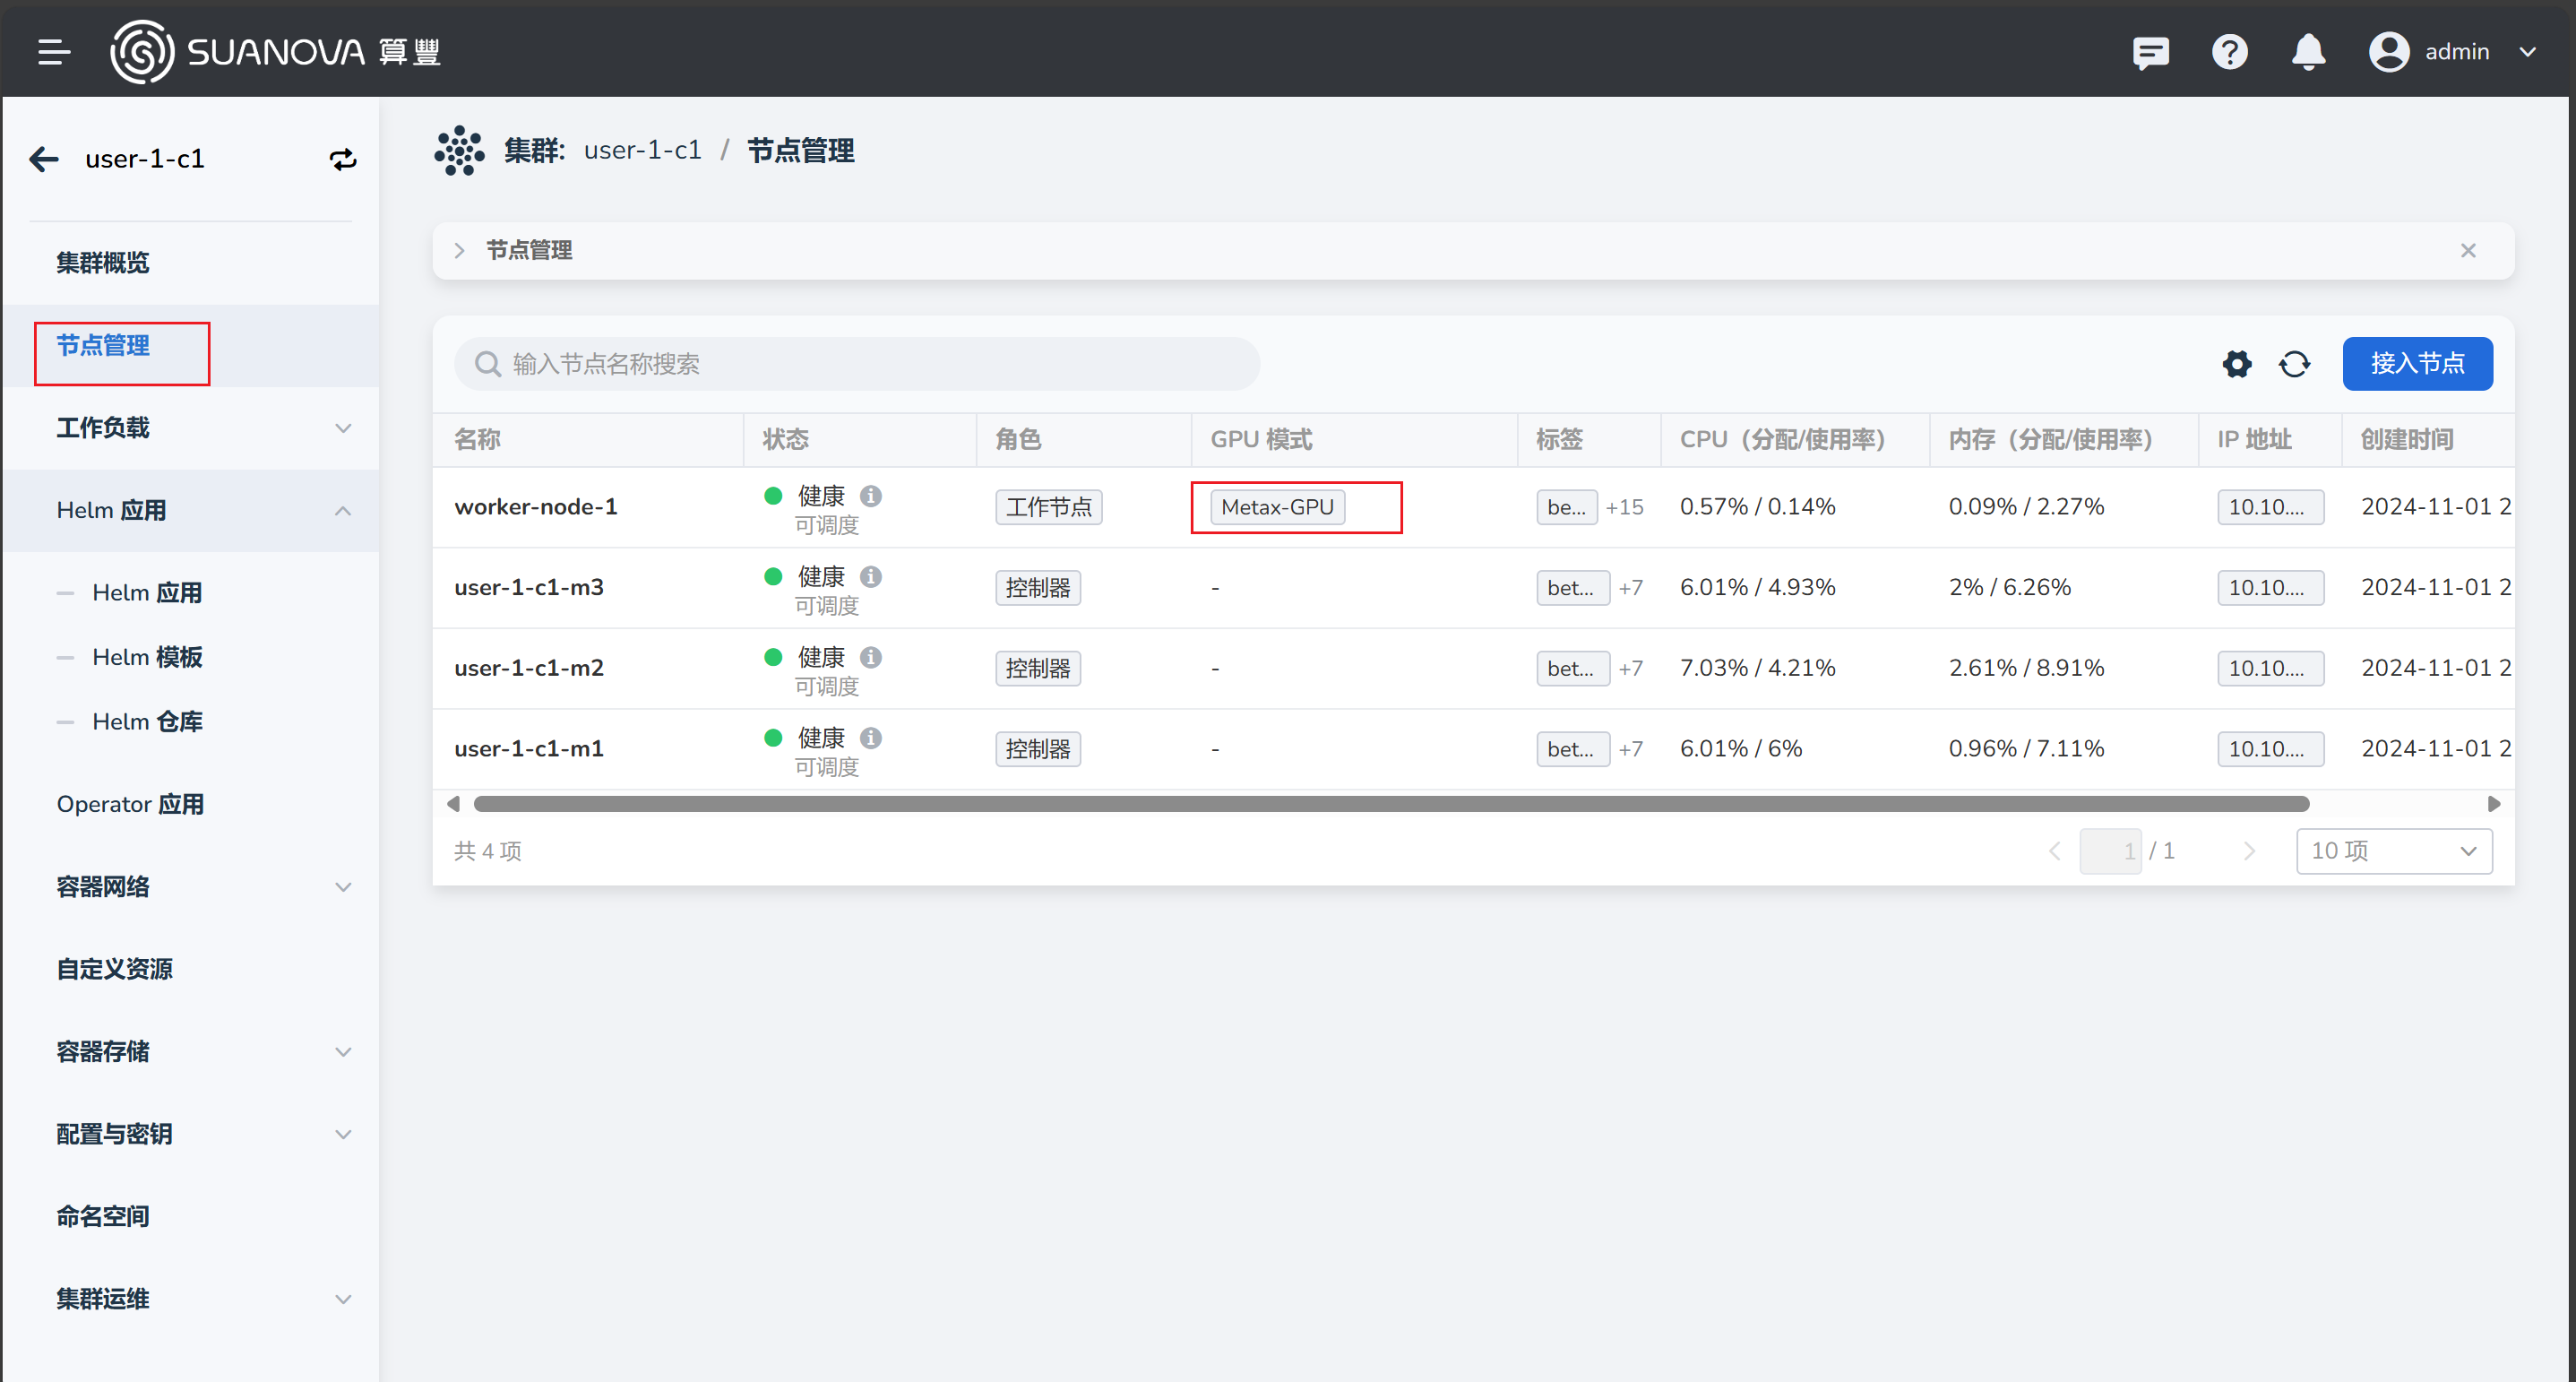
The cluster has been successfully created. You can now check the nodes included in the cluster. You can create AI workloads and use the GPU.
Next step: Create AI Workloads