Network Policies
Network policies in Kubernetes allow you to control network traffic at the IP address or port level (OSI layer 3 or layer 4). The container management module currently supports creating network policies based on Pods or namespaces, using label selectors to specify which traffic can enter or leave Pods with specific labels.
For more details on network policies, refer to the official Kubernetes documentation on Network Policies.
Creating Network Policies
Currently, there are two methods available for creating network policies: YAML and form-based creation. Each method has its advantages and disadvantages, catering to different user needs.
YAML creation requires fewer steps and is more efficient, but it has a higher learning curve as it requires familiarity with configuring network policy YAML files.
Form-based creation is more intuitive and straightforward. Users can simply fill in the proper values based on the prompts. However, this method involves more steps.
Create from YAML
-
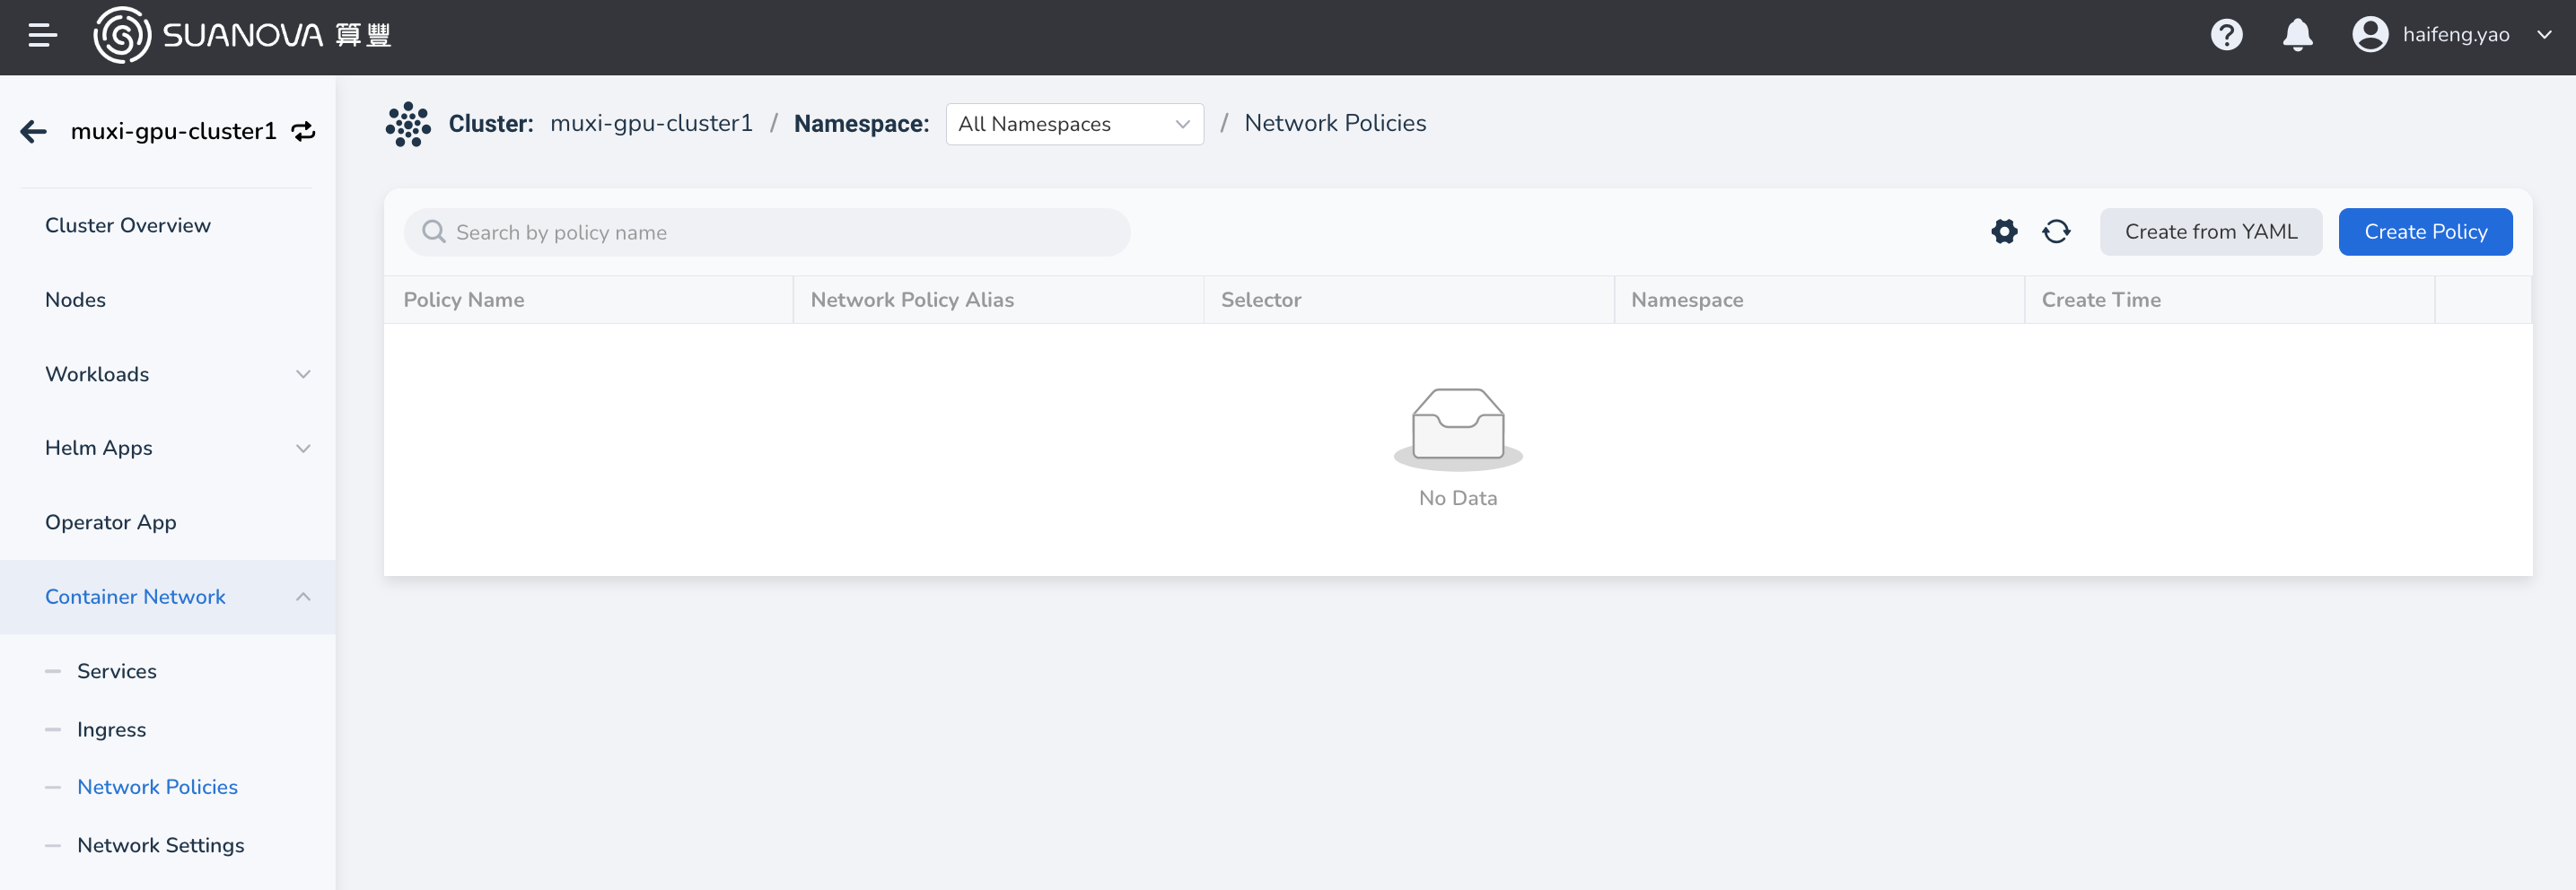
In the cluster list, click the name of the target cluster, then navigate to Container Network -> Network Policies , and click the Create from YAML button.
-
In the pop-up dialog, enter or paste the pre-prepared YAML file, then click OK at the bottom of the dialog.
Here is a YAML example for NetworkPolicy.
kind: NetworkPolicy
apiVersion: networking.k8s.io/v1
metadata:
  name: allow-apiserver
  namespace: calico-apiserver
  uid: 1162d1c9-4225-4271-a302-062b9f06ec2c
  resourceVersion: '9960'
  generation: 1
  creationTimestamp: '2024-04-18T05:49:46Z'
  ownerReferences:
    - apiVersion: operator.tigera.io/v1
      kind: APIServer
      name: default
      uid: 2cc89f7b-e52b-4bf7-b47e-56efc8407f9a
      controller: true
      blockOwnerDeletion: true
spec:
  podSelector:
    matchLabels:
      apiserver: 'true'
  ingress:
    - ports:
        - protocol: TCP
          port: 5443
  policyTypes:
    - Ingress
Create from Wizard
-
In the cluster list, click the name of the target cluster, then navigate to Container Network -> Network Policies , and click the Create Policy button.

-
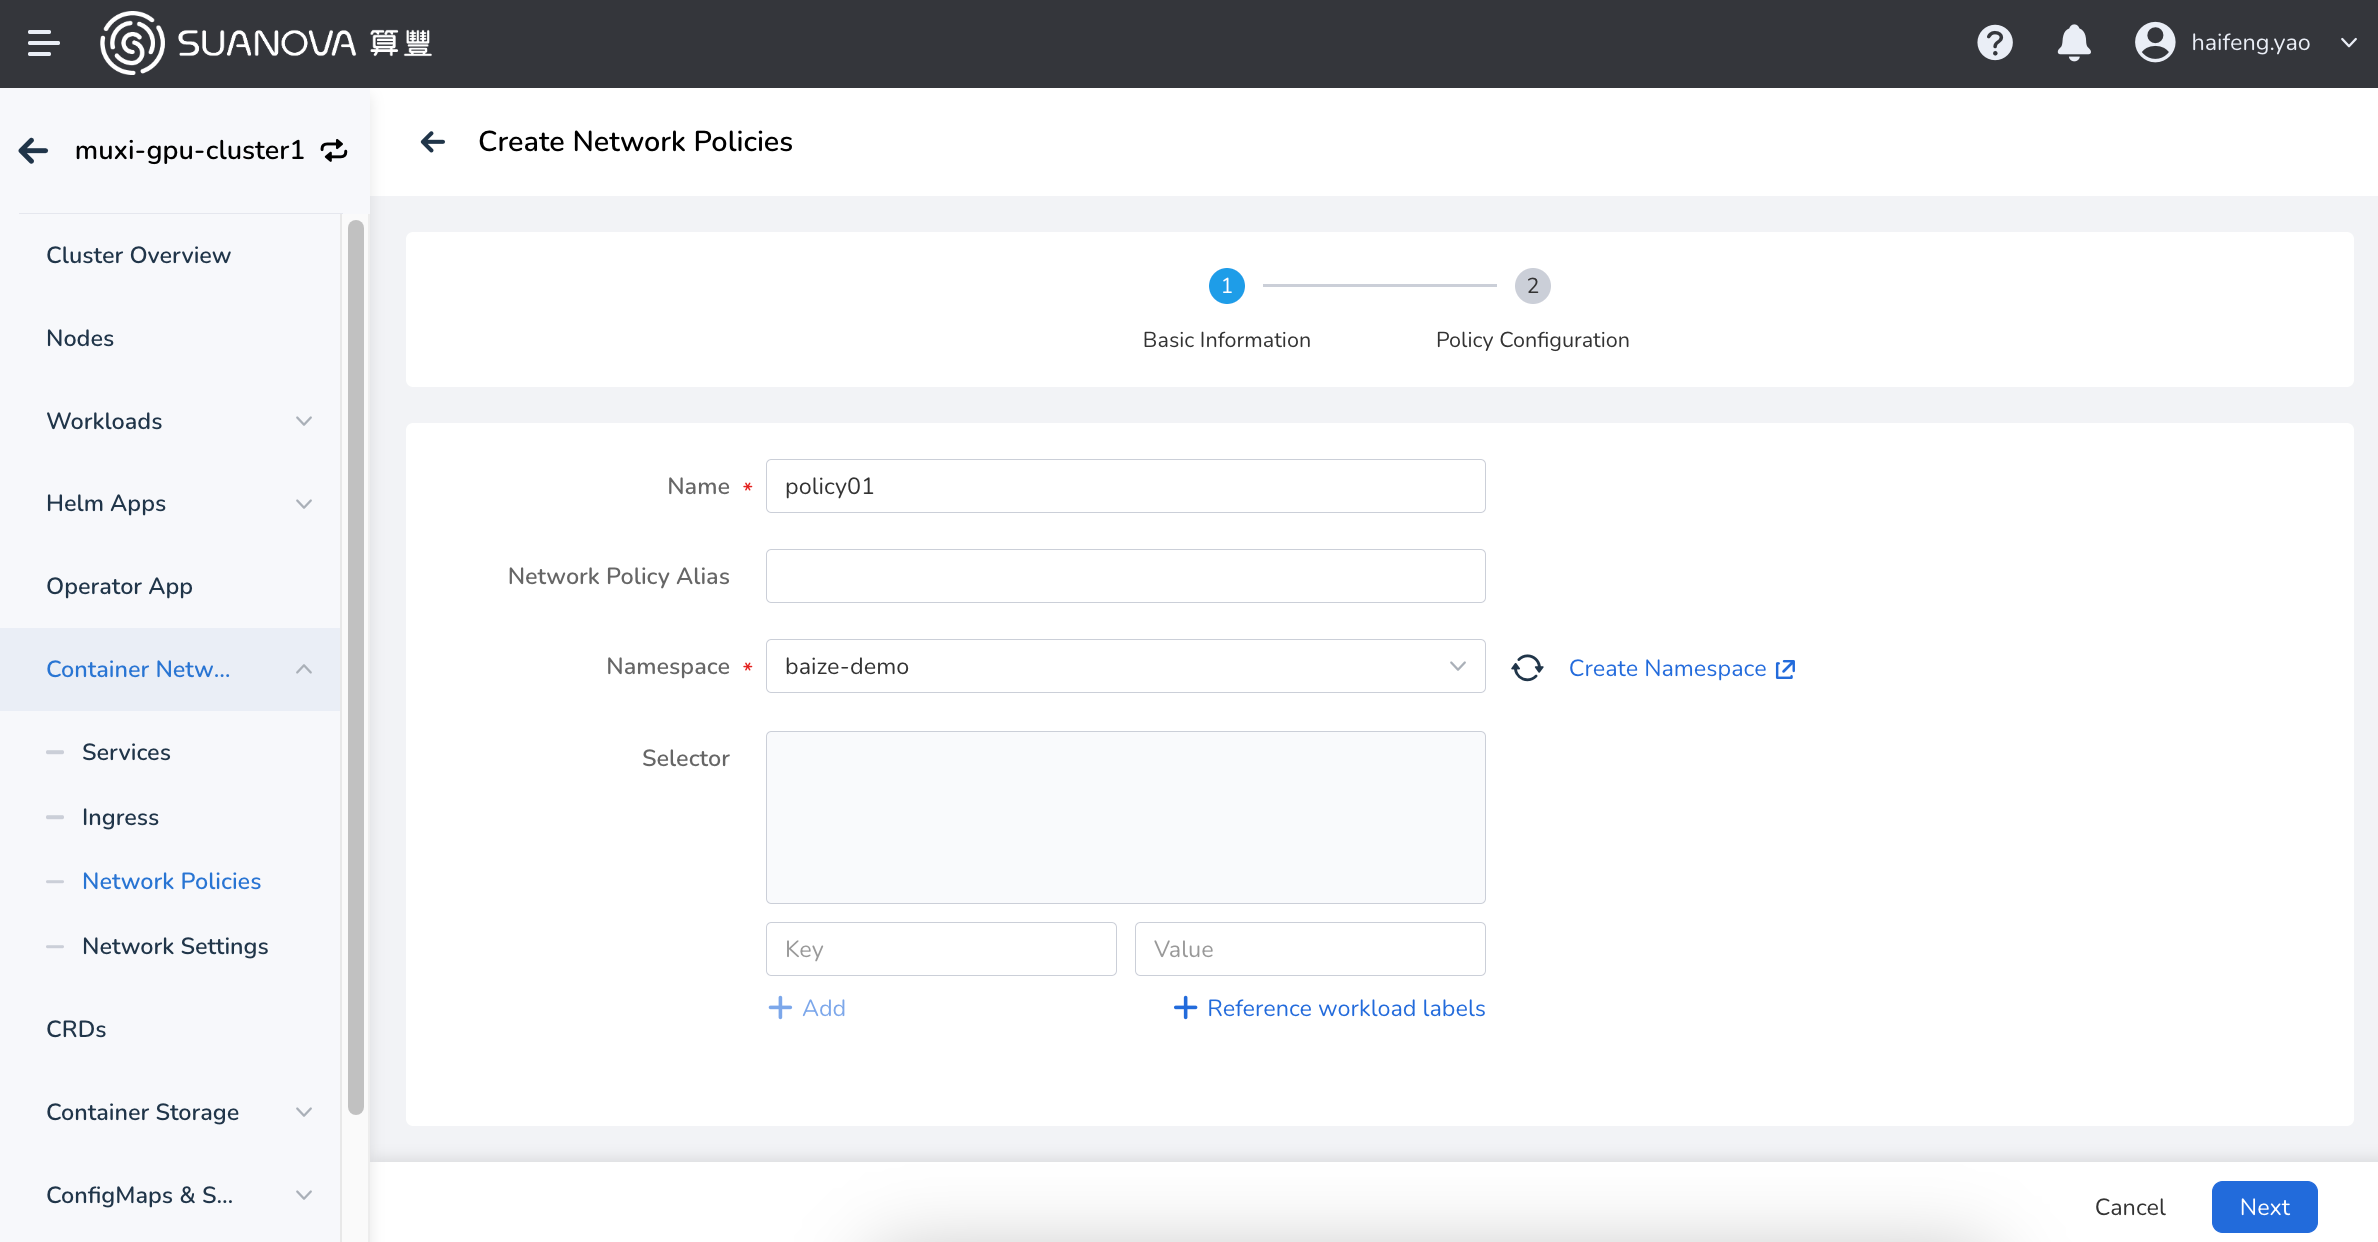
Fill in the basic information.
The name and namespace cannot be changed after creation.
-
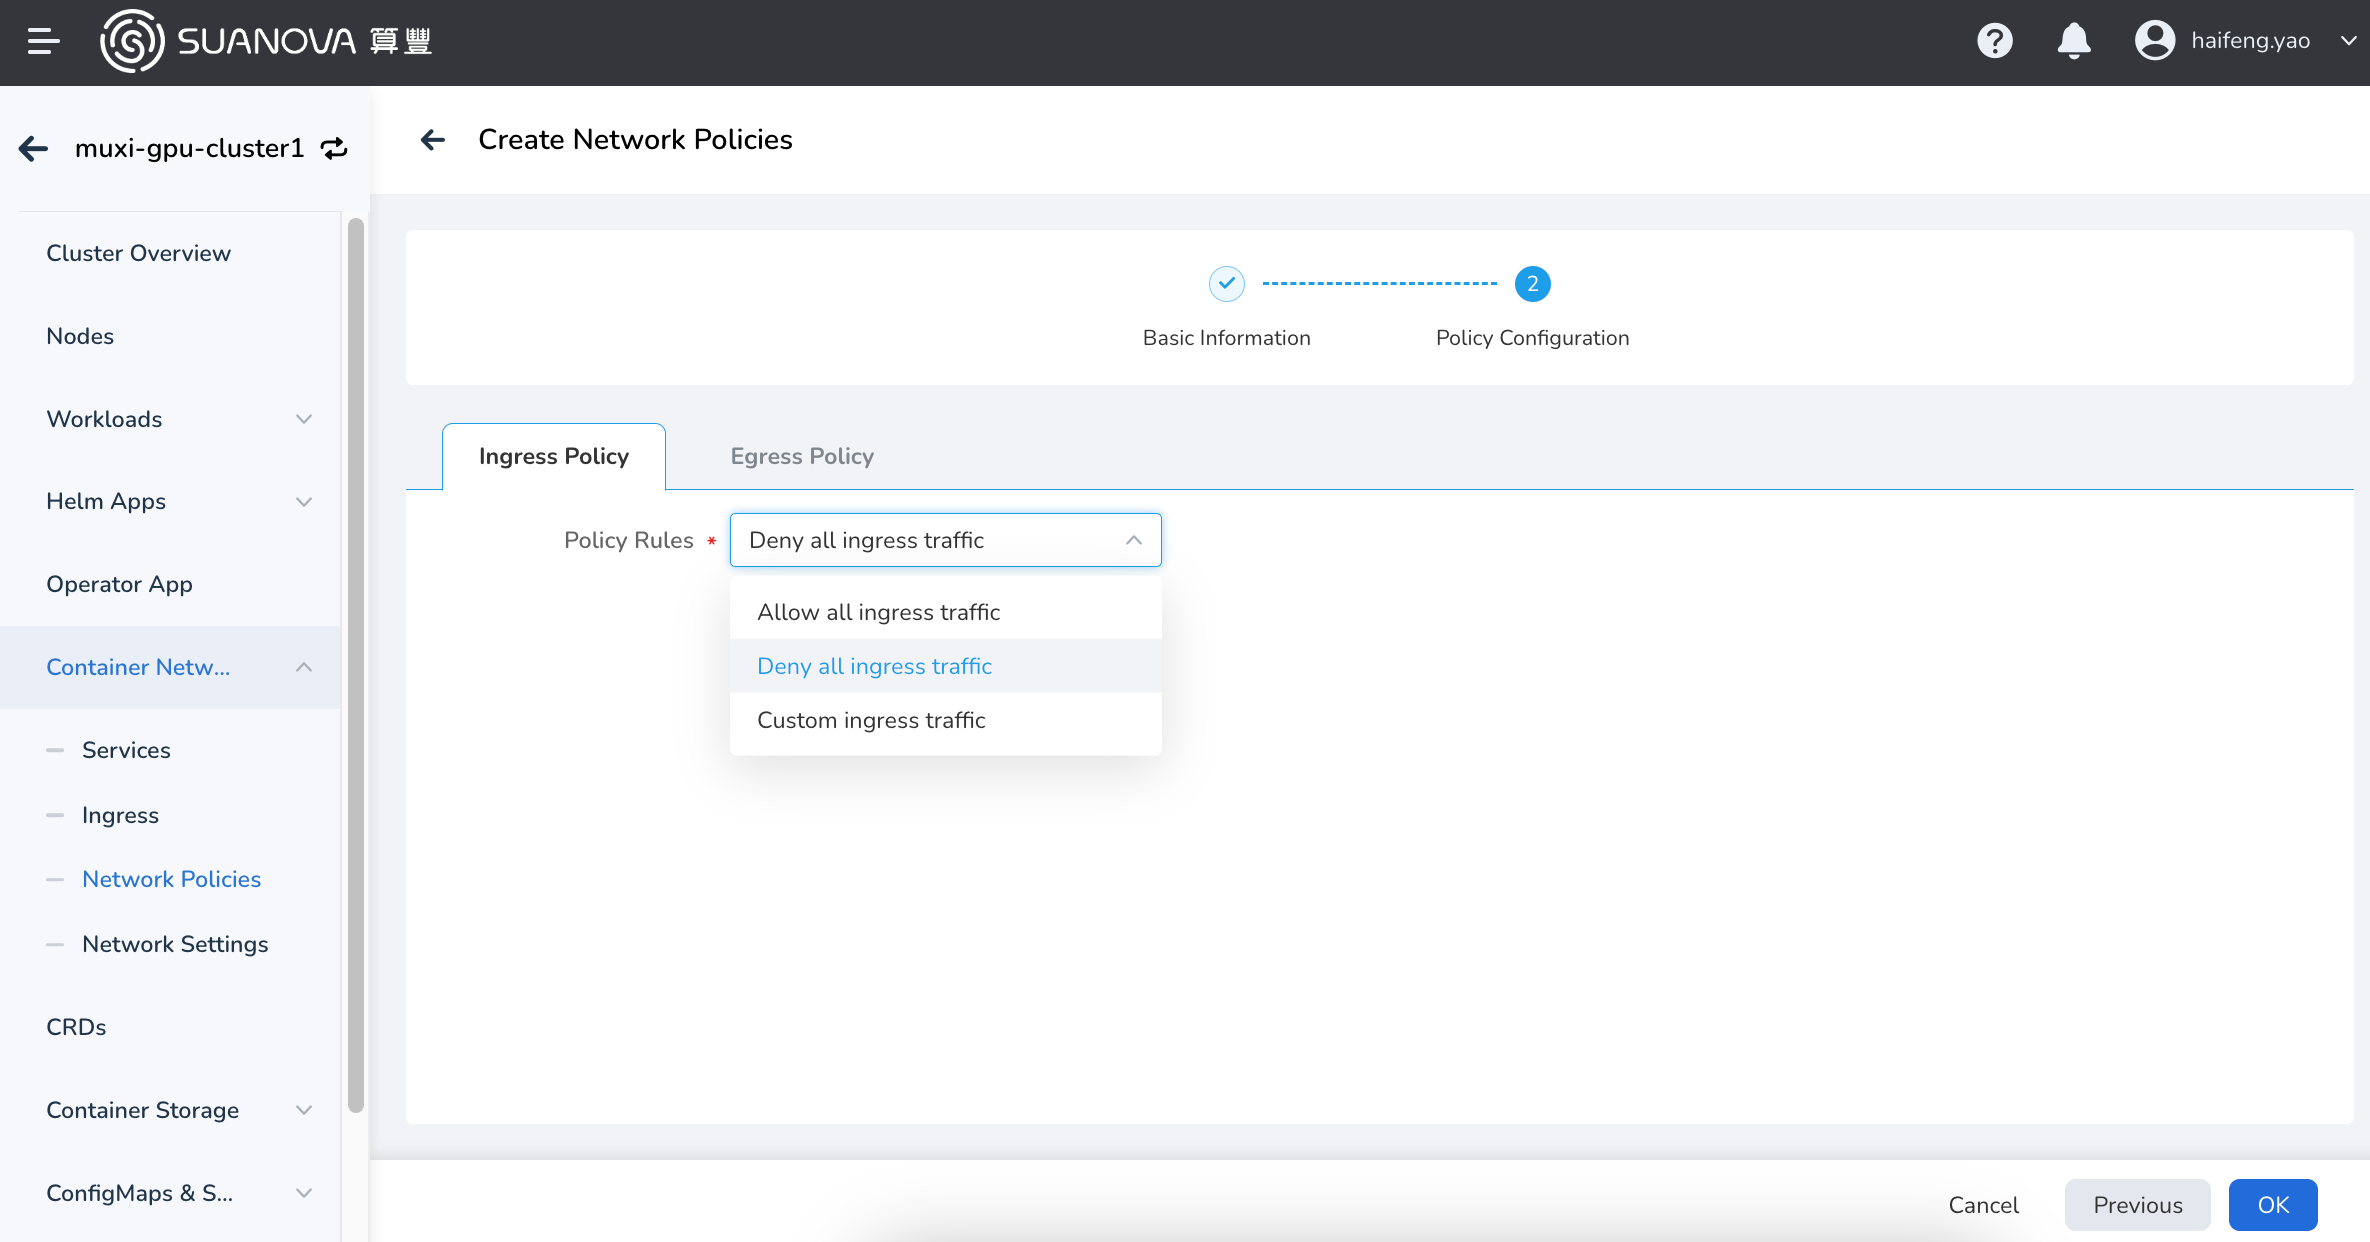
Fill in the policy configuration.
The policy configuration includes ingress and egress policies. To establish a successful connection from a source Pod to a target Pod, both the egress policy of the source Pod and the ingress policy of the target Pod need to allow the connection. If either side does not allow the connection, the connection will fail.
Viewing Network Policies
-
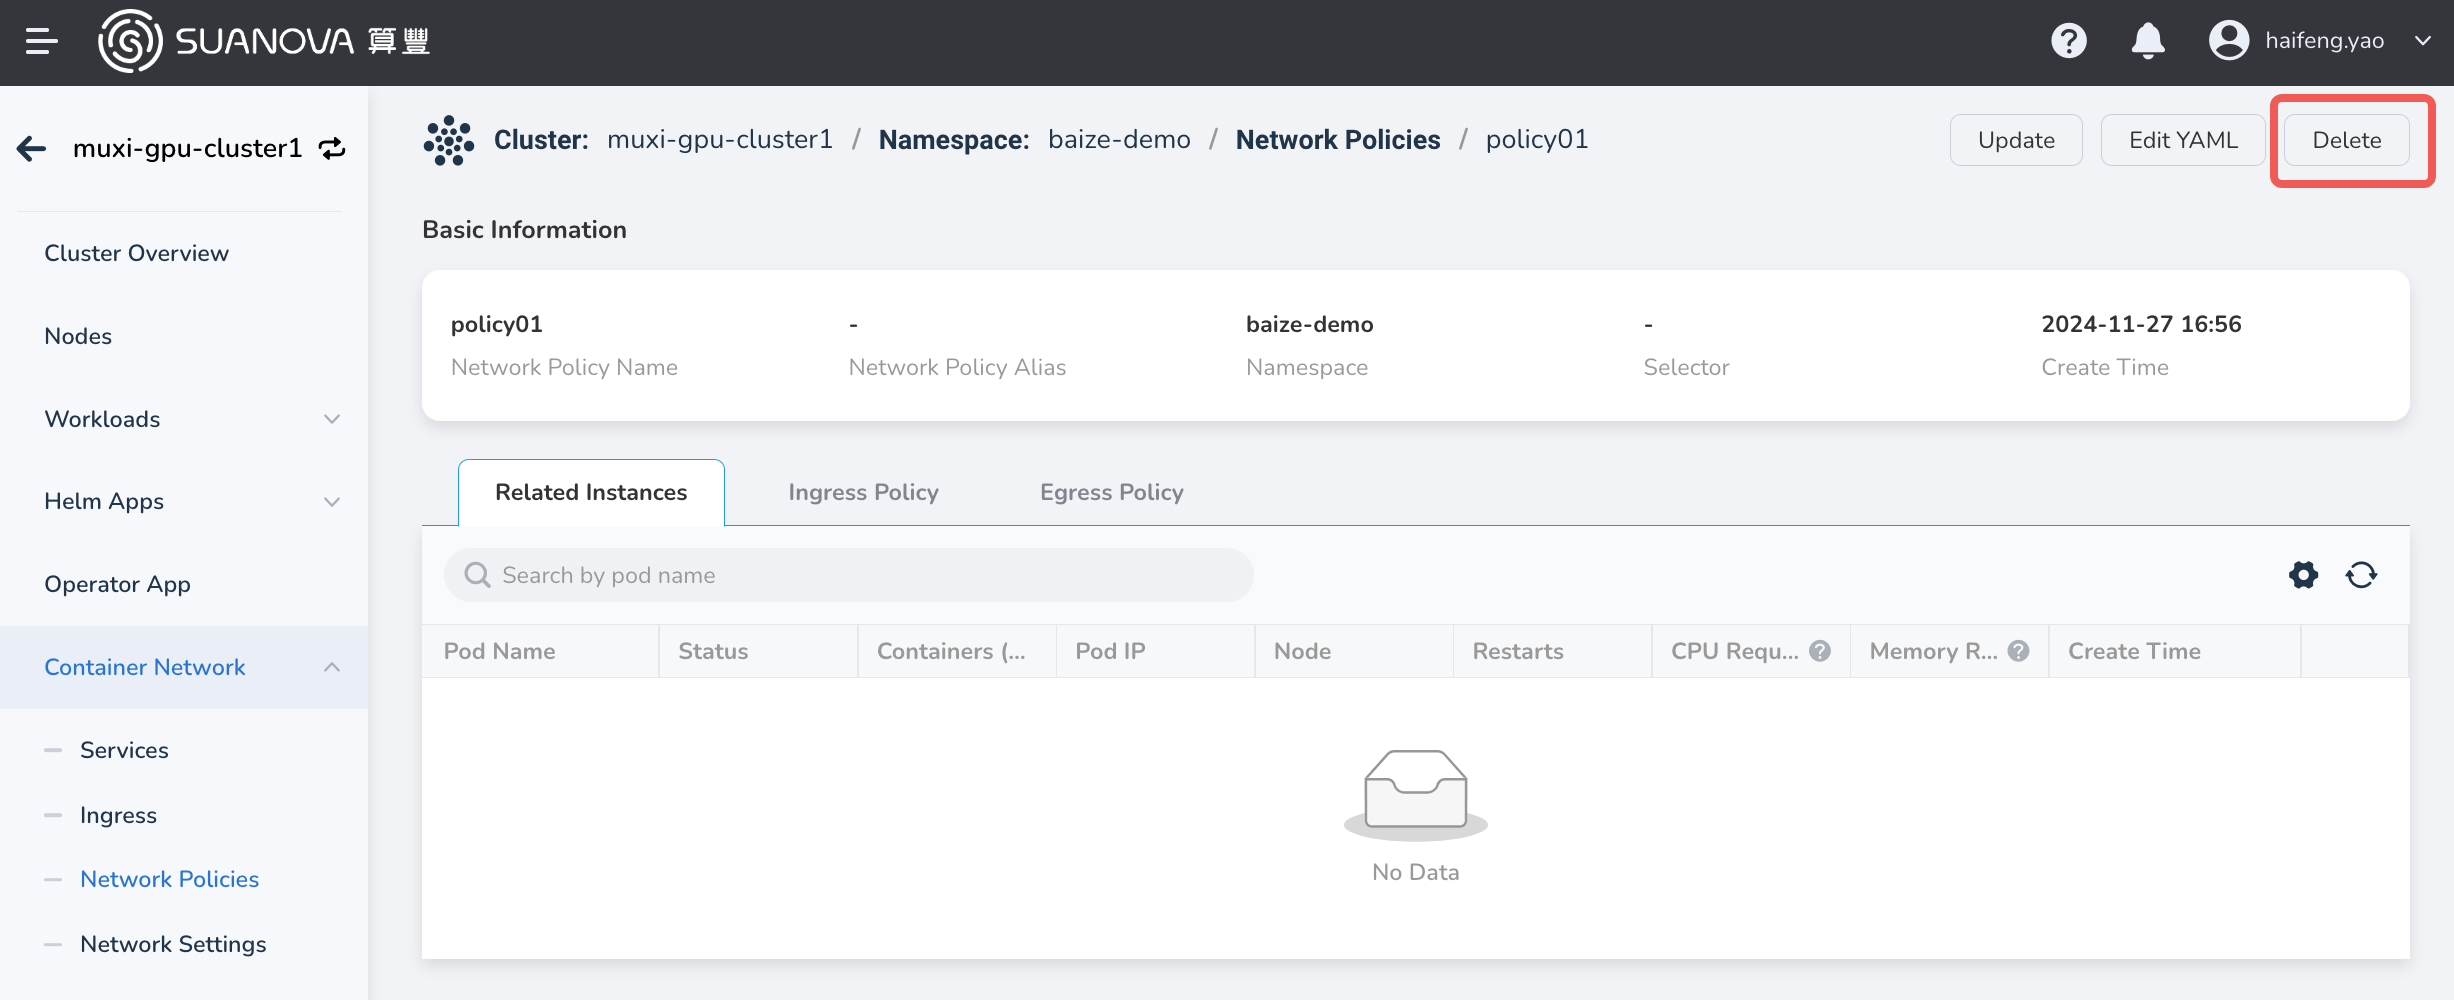
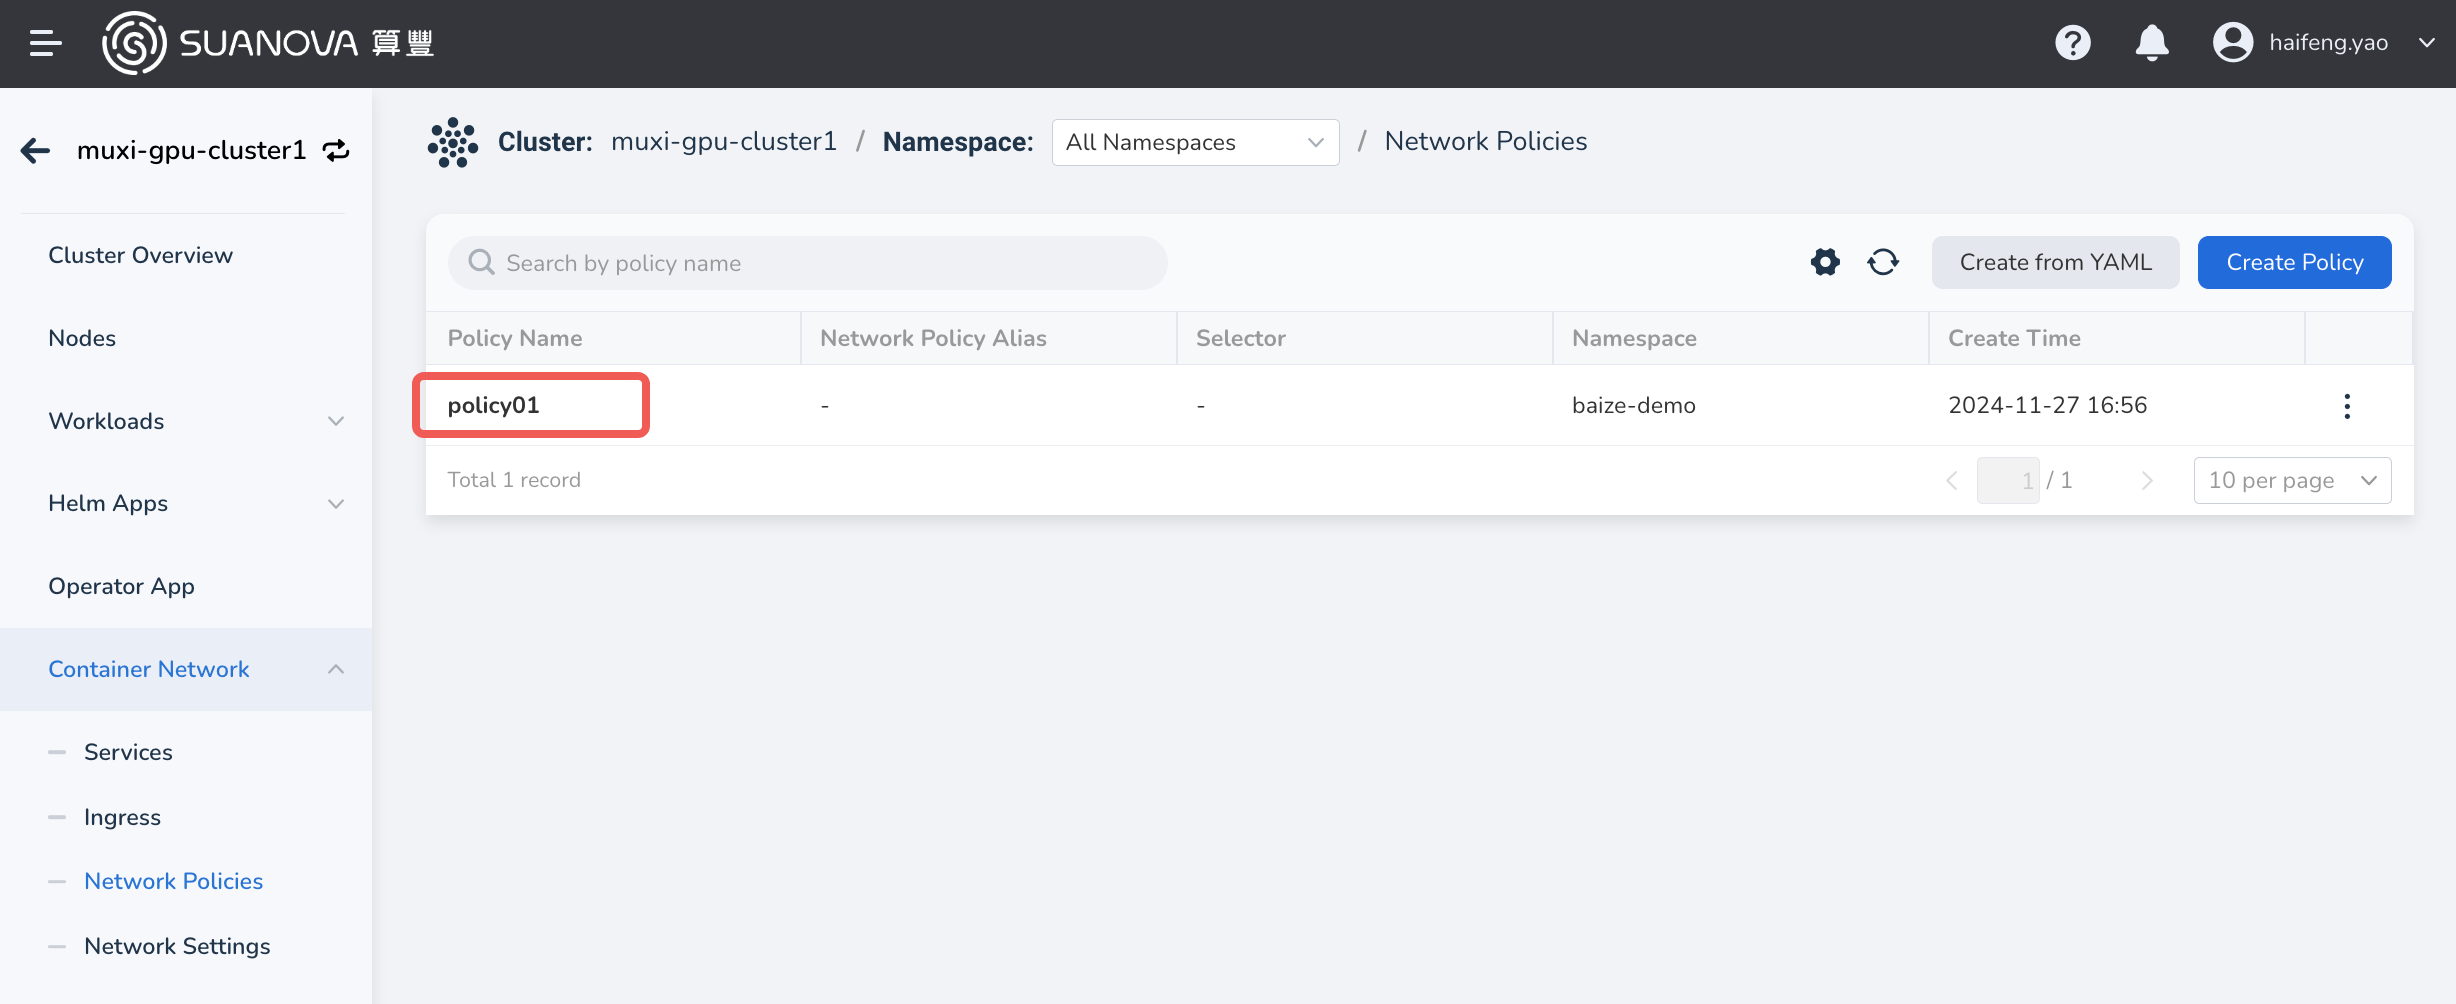
In the cluster list, click the name of the target cluster, then navigate to Container Network -> Network Policies . Click the name of the network policy.
-
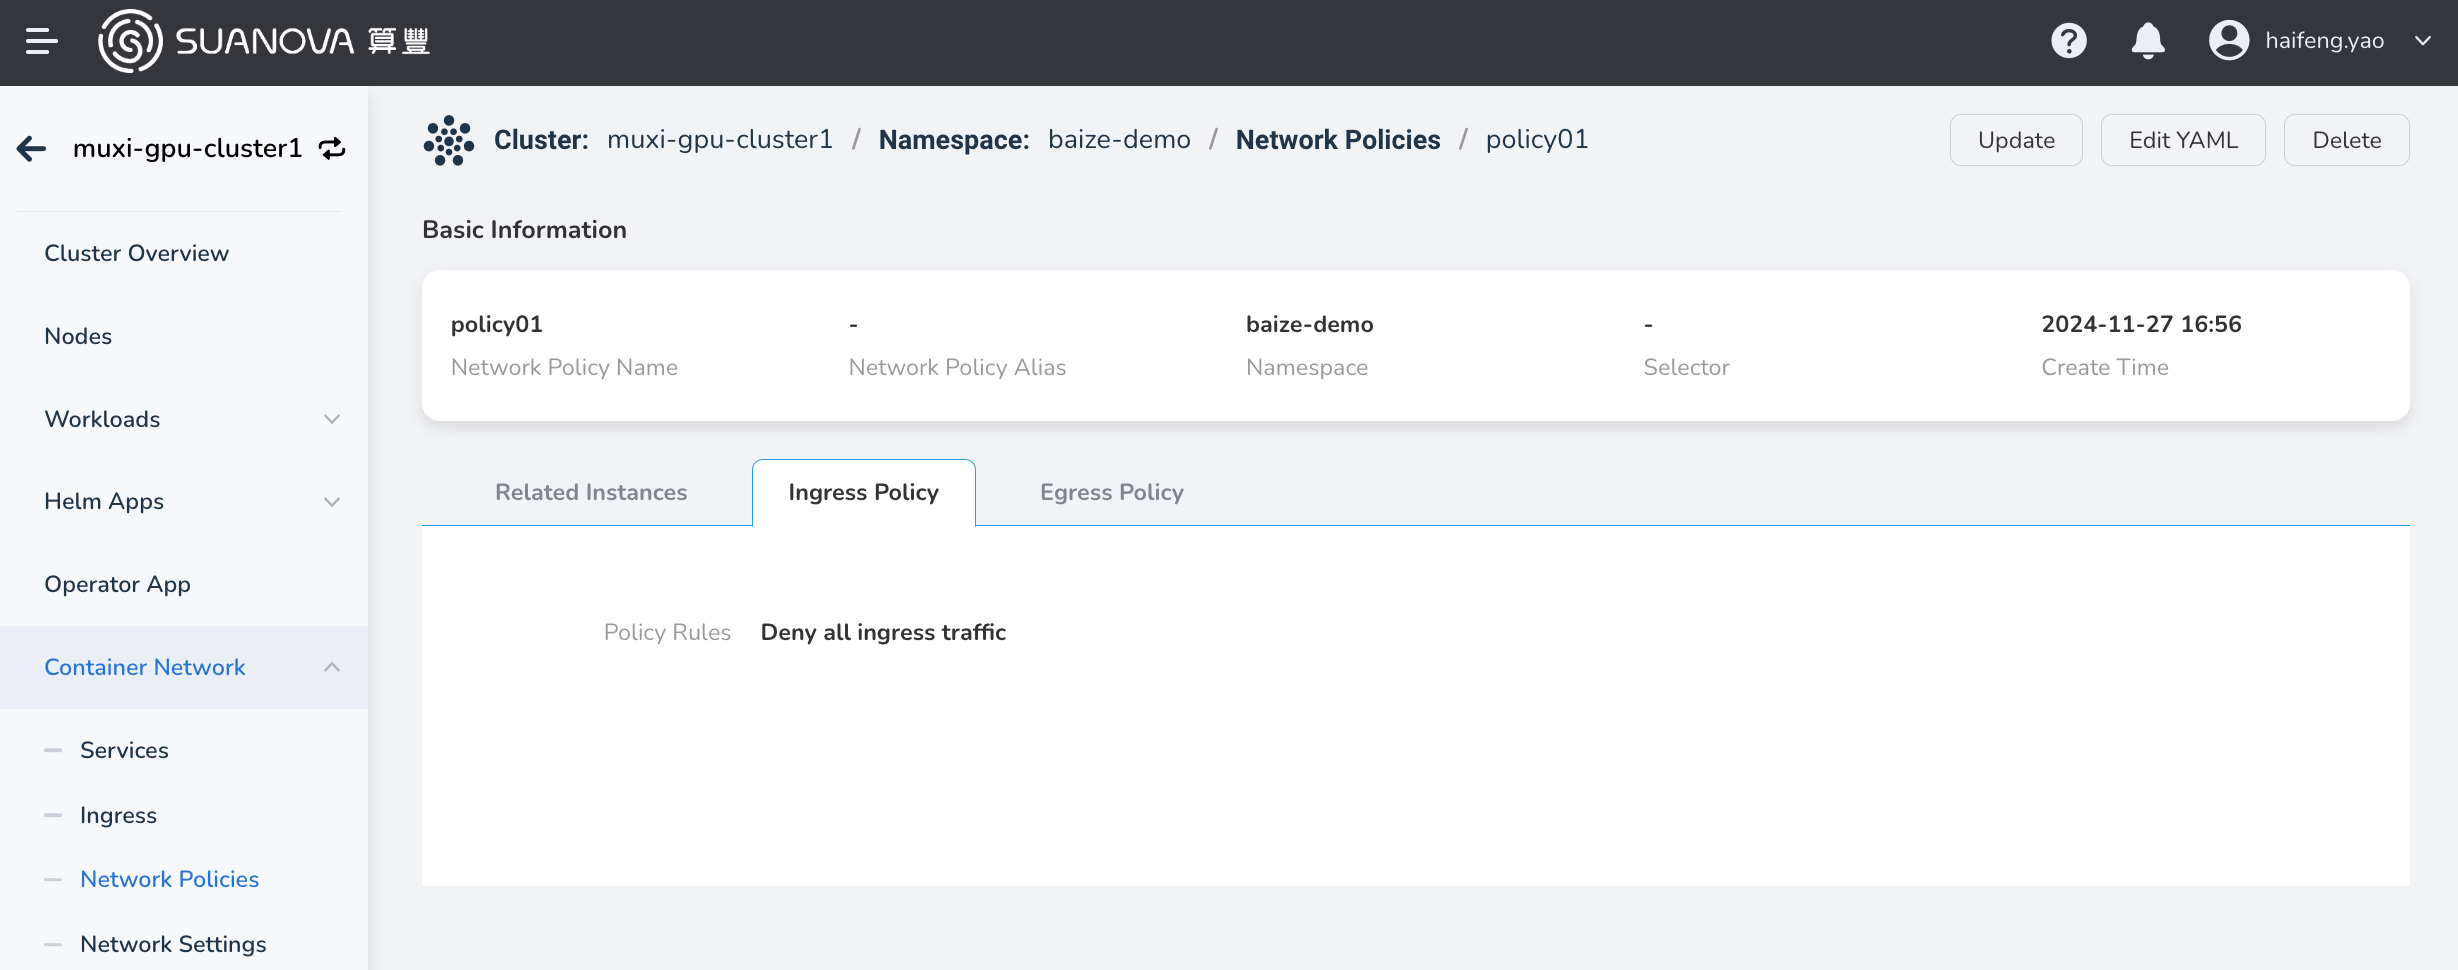
View the basic configuration, instances, ingress policies, and egress policies of the policy.
Info
Under the Related Instances tab, you can view instances, logs, containers, YAML files, events, and more.
Updating Network Policies
There are two ways to update network policies. You can either update them through the form or by using a YAML file.
-
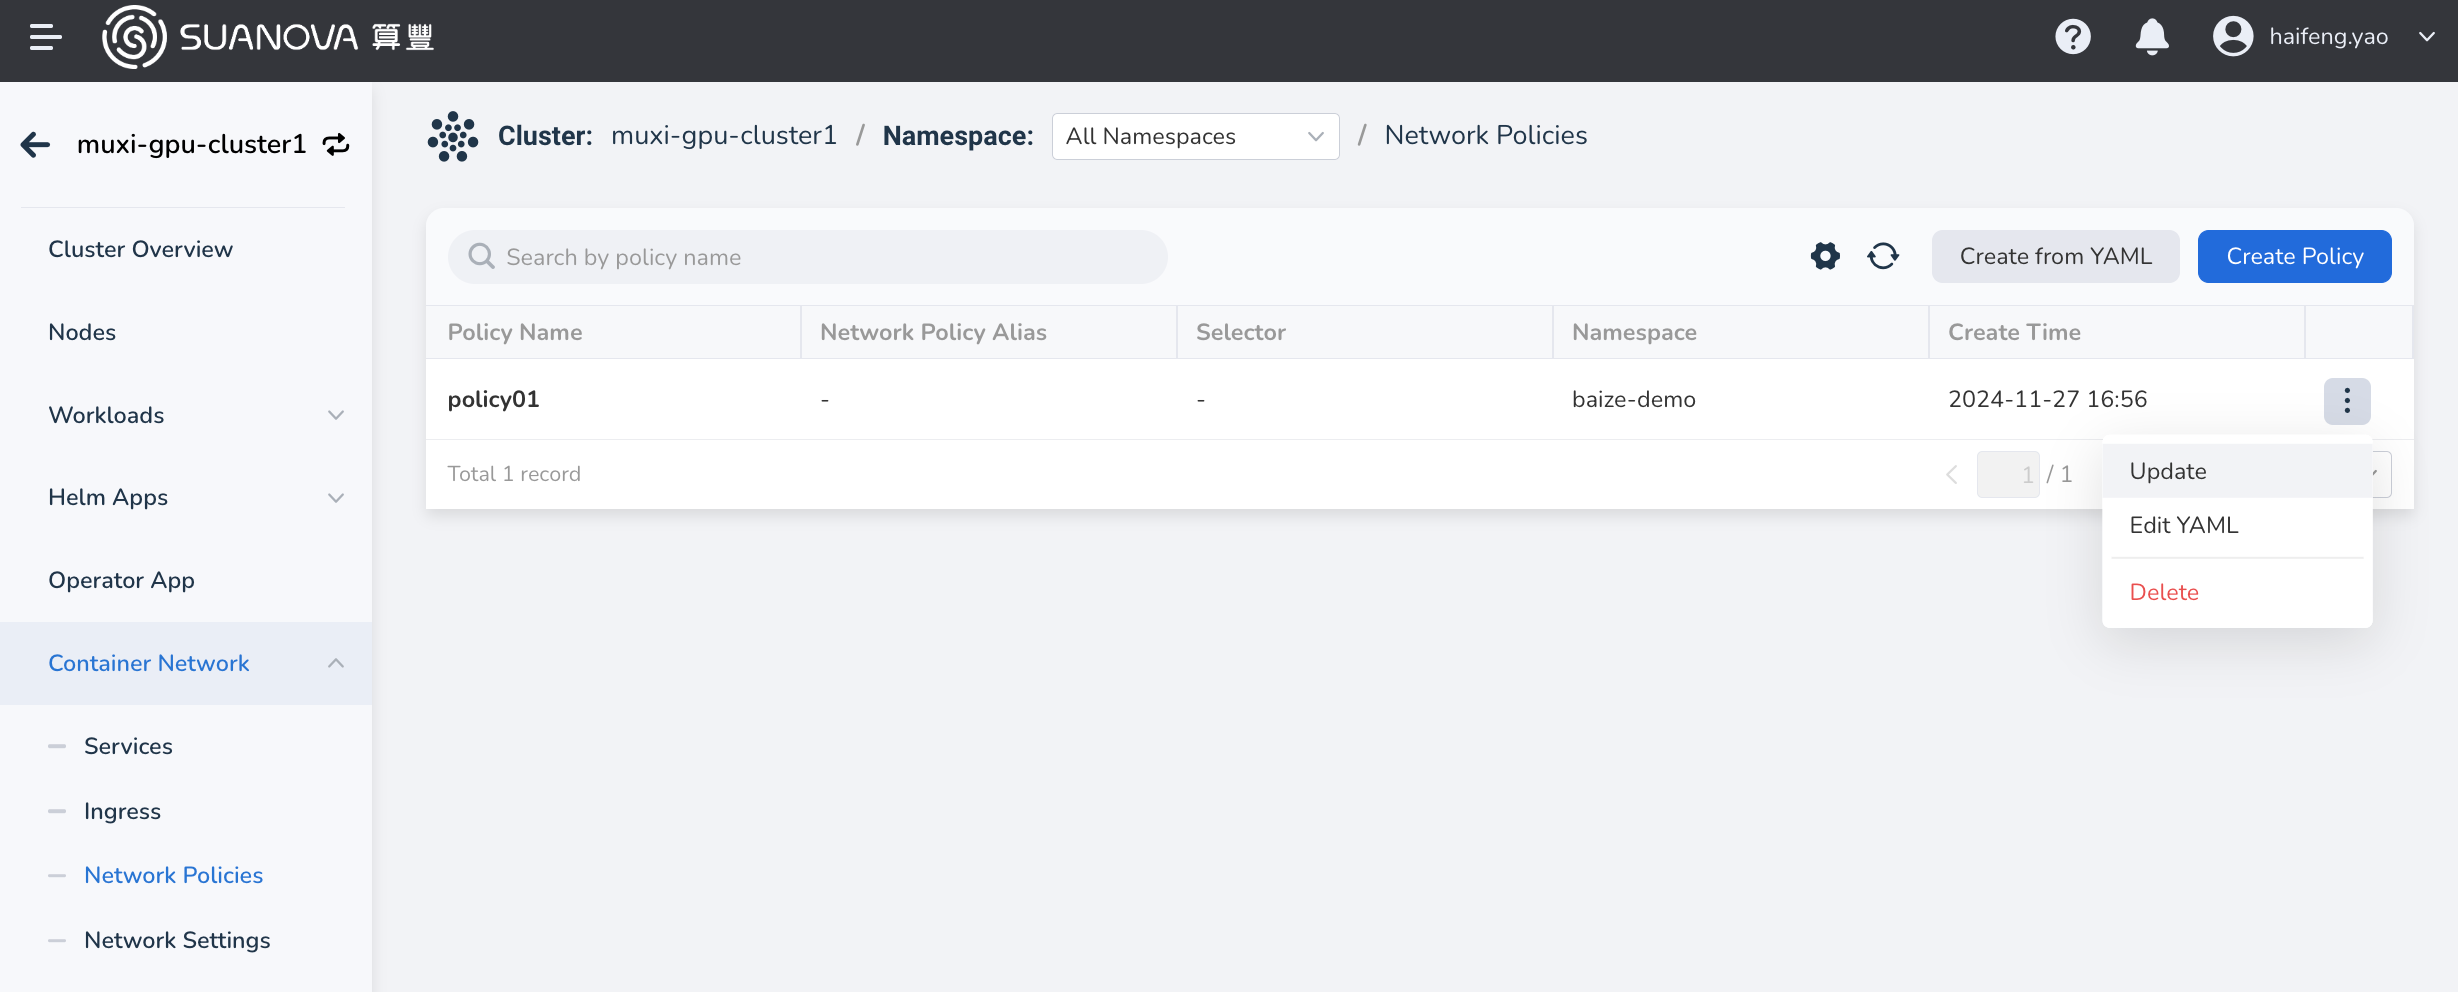
On the network policy list page, find the policy you want to update, and choose Update in the action column on the right to update it via the form. Choose Edit YAML to update it using a YAML file.
-
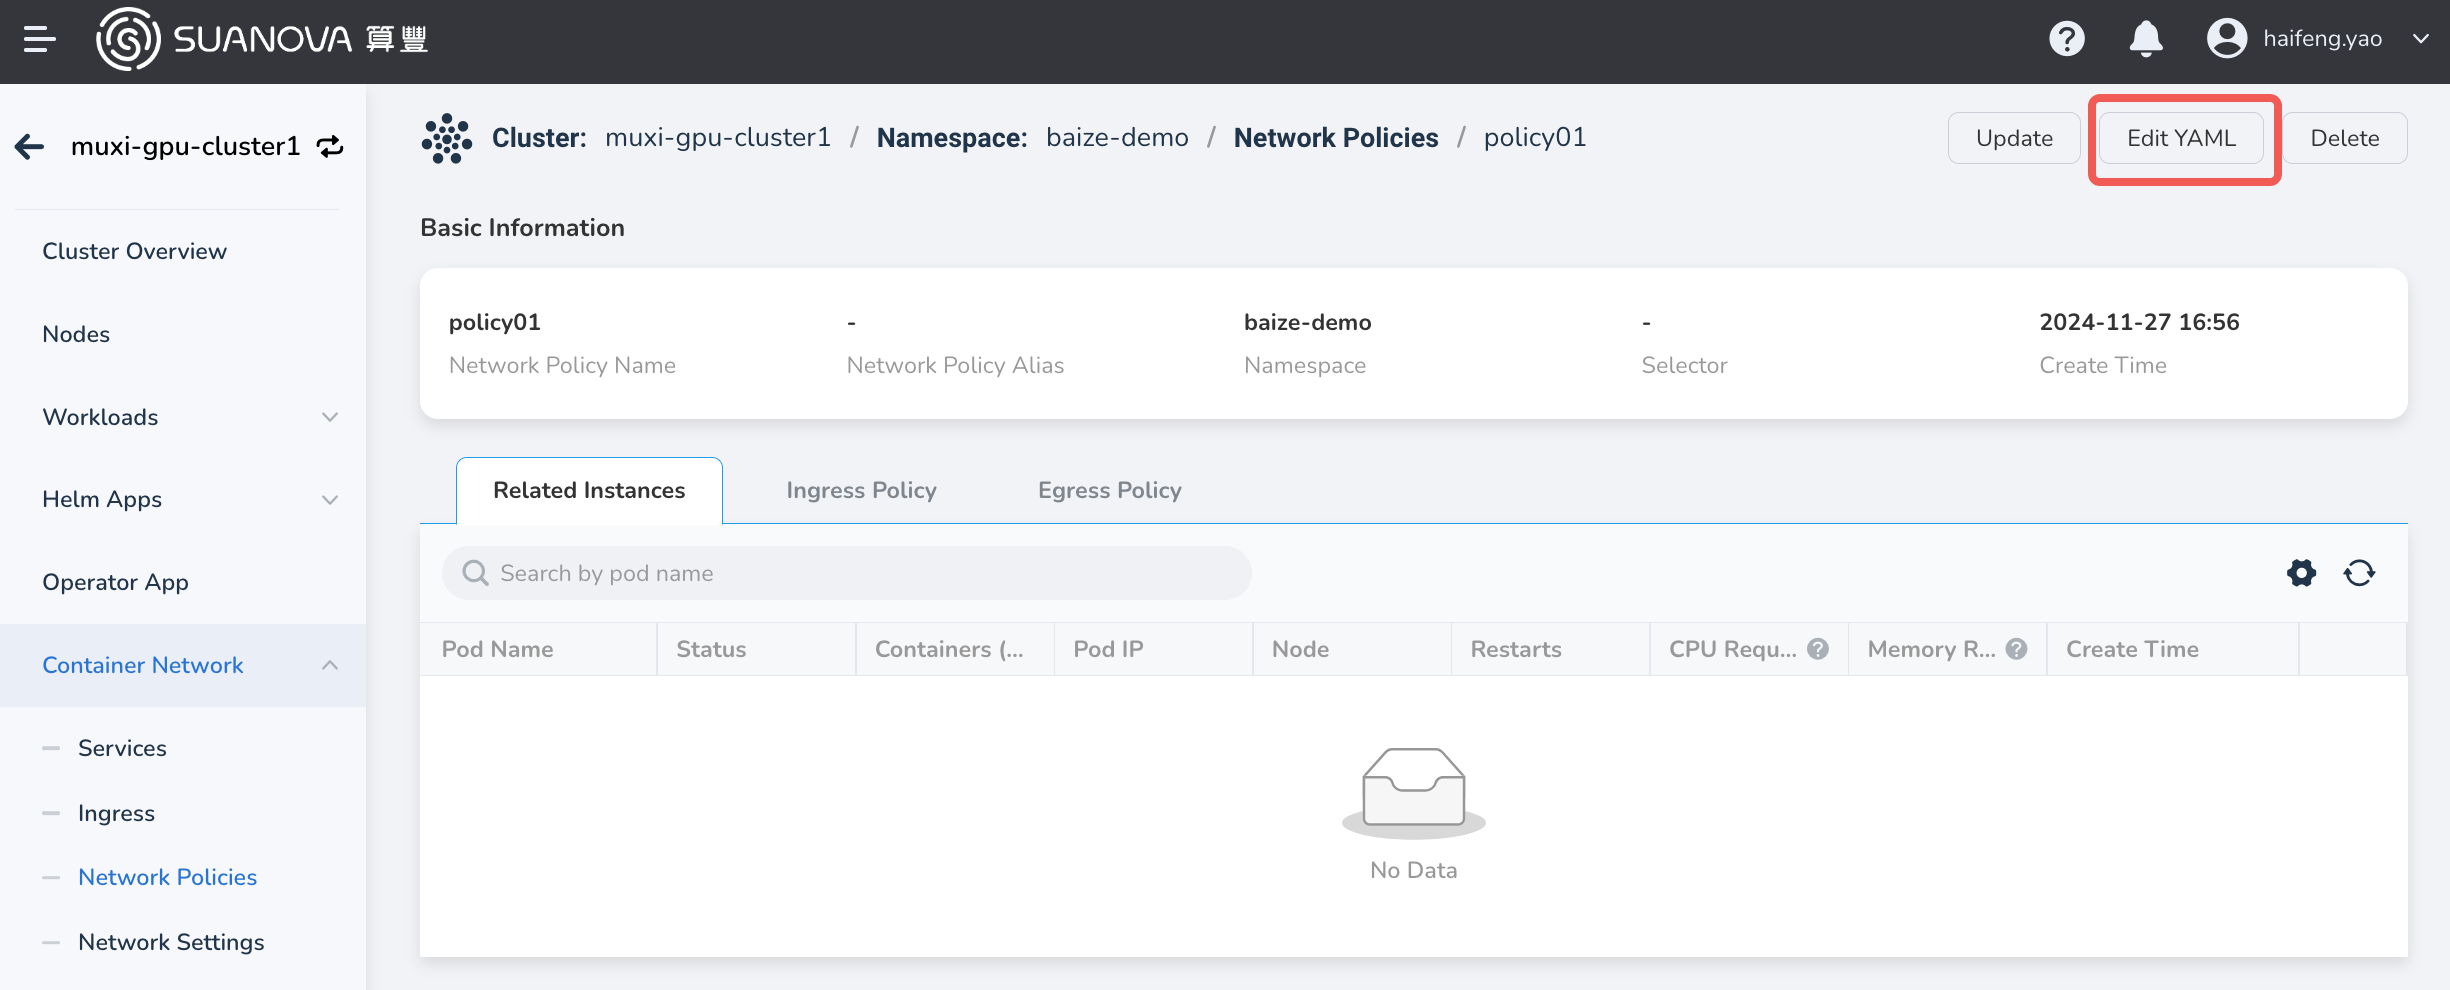
Click the name of the network policy, then choose Update in the top right corner of the policy details page to update it via the form. Choose Edit YAML to update it using a YAML file.
Deleting Network Policies
There are two ways to delete network policies. You can delete network policies either through the form or by using a YAML file.
-
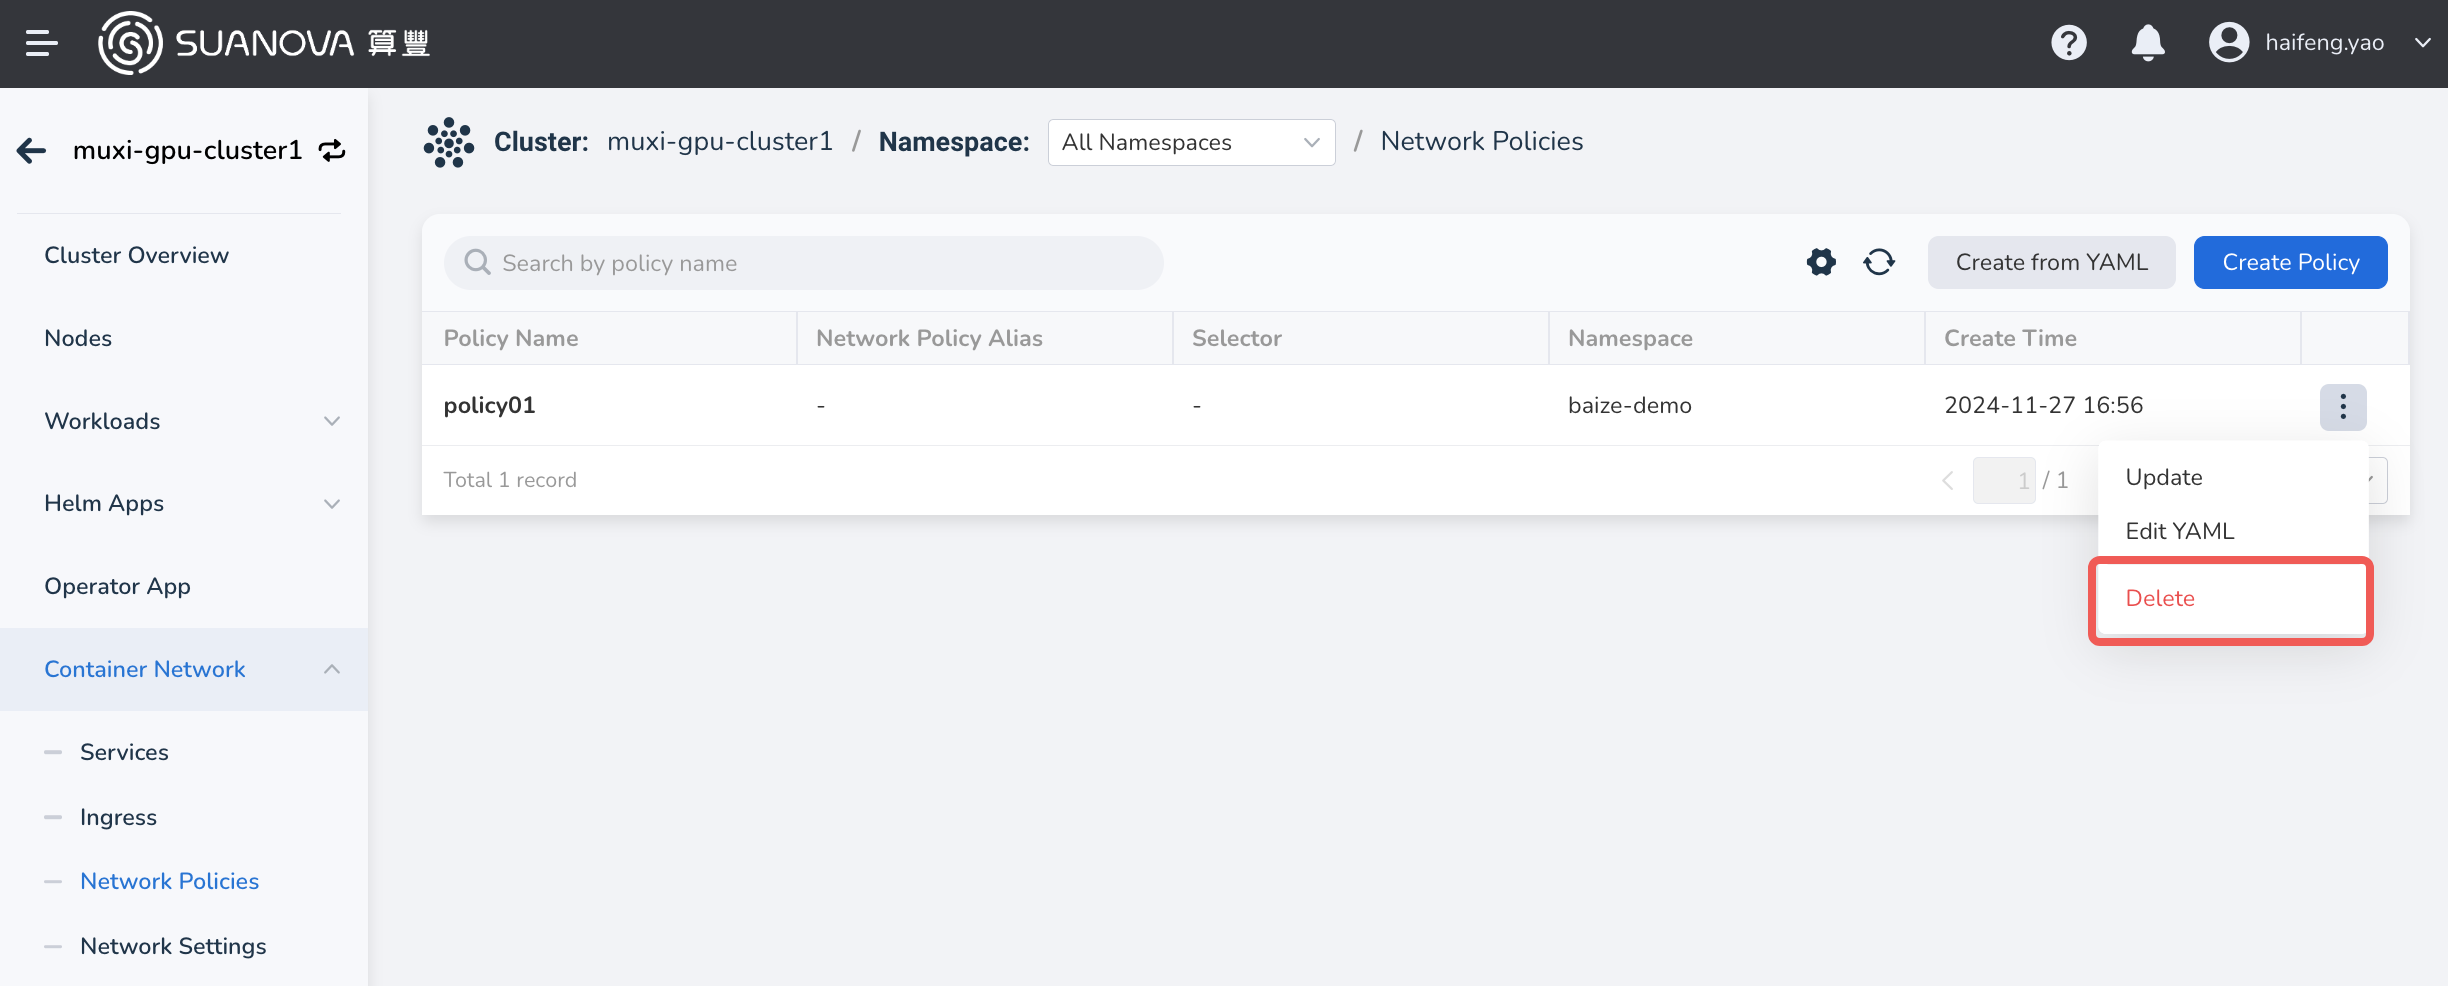
On the network policy list page, find the policy you want to delete, and choose Delete in the action column on the right to delete it.
-
Click the name of the network policy, then choose Delete in the top right corner of the policy details page to delete it.
